6 Essential Steps for Stunning Product Photography in 2026
Professional product photography doesn’t demand an expensive studio or years of experience. Honestly, you can create compelling visuals for your e-commerce store or portfolio using simple techniques and accessible tools. Just focus on proper lighting, careful item preparation, and optimal camera settings to capture high-quality photos that truly attract buyers.
Imagine this scenario: you’ve spent hours perfecting your craft, creating fantastic merchandise, but your online sales aren’t reflecting its true value. Often, the disconnect lies in the product visuals. Blurry, poorly lit, or inconsistent pictures can deter potential customers faster than almost anything else. You’ve got a great item, so why not ensure your images do it justice and help your products grab attention online?
Setting the Scene: Backdrop and Environment
Establishing a clean, consistent backdrop is the first step in successful product photography. For e-commerce, a pure white background is often the industry standard because it minimizes distractions and keeps the focus solely on your merchandise. You can achieve this with a simple roll of white paper or a white fabric sweep, making sure it’s and free of wrinkles.
But, your creative options aren’t limited to white. Depending on the item and your brand’s aesthetic, a black background can create a dramatic, luxurious feel, while a hand-painted or colored sheet might evoke a specific mood. For instance, a rustic wooden board works wonderfully for artisanal food goods, adding texture and warmth. My experience has shown that experimenting with different textures and colors can really make an item visually striking, especially for lifestyle shots where the context matters.
When working with reflective products, you’ll need to be particularly careful with your environment. Unwanted reflections from your surroundings, or even your own reflection, can ruin an otherwise perfect shot. Using a light tent or placing white foam core boards around your setup can help control these reflections, giving your product a clean, professional look.
Mastering Your Light: Techniques and Tools
Lighting is arguably the most critical element in product photography, directly influencing how your item’s shape, texture, and color are perceived. Starting with a single light source, such as a continuous LED light or an external flash, is a great approach. Position this as your key light, typically slightly to the side or above the product, to create shape and dimension.
To soften harsh shadows and reveal details in darker areas, use a reflector. A simple white foam board or a collapsible 5-in-1 reflector can bounce light back onto your product, acting as a fill light. For instance, if your key light is on the left, place the reflector on the right. This setup creates a more balanced, appealing image. I’ve found that even a well-placed piece of white cardstock can make a significant difference in reducing contrast.
Consider how different lighting placements affect your product. For e-commerce, a bright, even frontal light is typical, but for advertising, you might introduce more dramatic side lighting to emphasize texture or create intriguing shadows. For items with highly reflective surfaces, like jewelry or polished metal, avoiding direct, flat light is wise. Instead, use soft, diffused light sources and position them to create appealing highlights and subtle gradients, making the merchandise appear glossy without overexposure. According to industry guidelines, proper illumination ensures accurate color representation, which is vital for online sales.
Preparing and Positioning Your Product
Before you even think about pressing the shutter, ensure your product is spotless. Dust, fingerprints, and smudges are far more noticeable in high-resolution photographs and can be time-consuming to remove in post-processing. Trust me, I’ve spent hours meticulously cloning out tiny dust specs; it’s always quicker to clean the item beforehand.
Once the product is clean, handle it with gloves to avoid new fingerprints. Position the item to highlight its best features. If it’s a watch, show the intricate dial; if it’s a bottle, ensure the label is perfectly straight and legible. For a subtle reflection that adds a touch of elegance, place your product on a clean glass sheet. This technique is very effective for items like perfumes or small electronics, giving them a grounded, sophisticated look.
When arranging your merchandise, think about depth. Placing the subject slightly forward from the background, perhaps a third of the way into the focal plane, helps create a sense of depth and allows for a pleasing background blur if you choose. This separation helps your item stand out and gives the picture a professional feel.
Camera Settings for Sharpness and Detail
Achieving edge-to-edge sharpness is extremely important in product photography, especially for items with intricate details. You’ll typically want to use a narrow aperture, such as f/8.0 or higher, to ensure that the entire product is in sharp focus. This depth of field ensures every detail, from front to back, remains crisp and clear for your customers.
Once your aperture is set, adjust your ISO to the lowest possible configuration, usually between 100-200. This minimizes image noise and maintains the highest possible visual quality. Then, adjust your shutter speed to achieve the correct exposure. Because you’re using a narrow aperture and low ISO, your shutter speed might be slower, which means a tripod becomes necessary. A steady tripod eliminates camera shake, ensuring your images remain sharp even with longer exposures. For example, if you’re shooting a delicate piece of jewelry at f/11 with ISO 100, your shutter speed might drop to 1/15th of a second, making a tripod essential.
Set your camera’s autofocus area to precisely where your product is located. This ensures the most critical part of your image receives maximum sharpness. If you find yourself needing to crop a photo to a specific aspect ratio or size after shooting, a free online crop tool can help you refine your composition without losing important details.
Composing Your Shots for Impact
Effective composition goes beyond simply placing your product in the center. Consider the purpose of your photograph. For e-commerce listings, multiple angles are very important. Show the front, back, sides, and any unique features that a buyer would want to inspect before purchasing. Make sure the item remains the central focus, allowing customers to quickly grasp what they’re seeing.
When shooting for advertisements or marketing materials, you’ll often need to leave intentional negative space for text or branding. Knowing the approximate amount of text content beforehand helps you frame your shots appropriately, preventing you from having to awkwardly crop or resize later. I’ve learned from working with various brands that planning for text placement upfront saves a lot of headaches in the design phase.
Using classic compositional rules like the rule of thirds or leading lines can enhance your product photos. For instance, placing an item off-center along one of the rule of thirds intersections can create a more dynamic and engaging visual than a perfectly centered one. Additionally, research industry standards for your specific product type. Watches, for example, are frequently photographed with their hands set to 10:10:35, as this position looks aesthetically pleasing and avoids obscuring the brand logo.
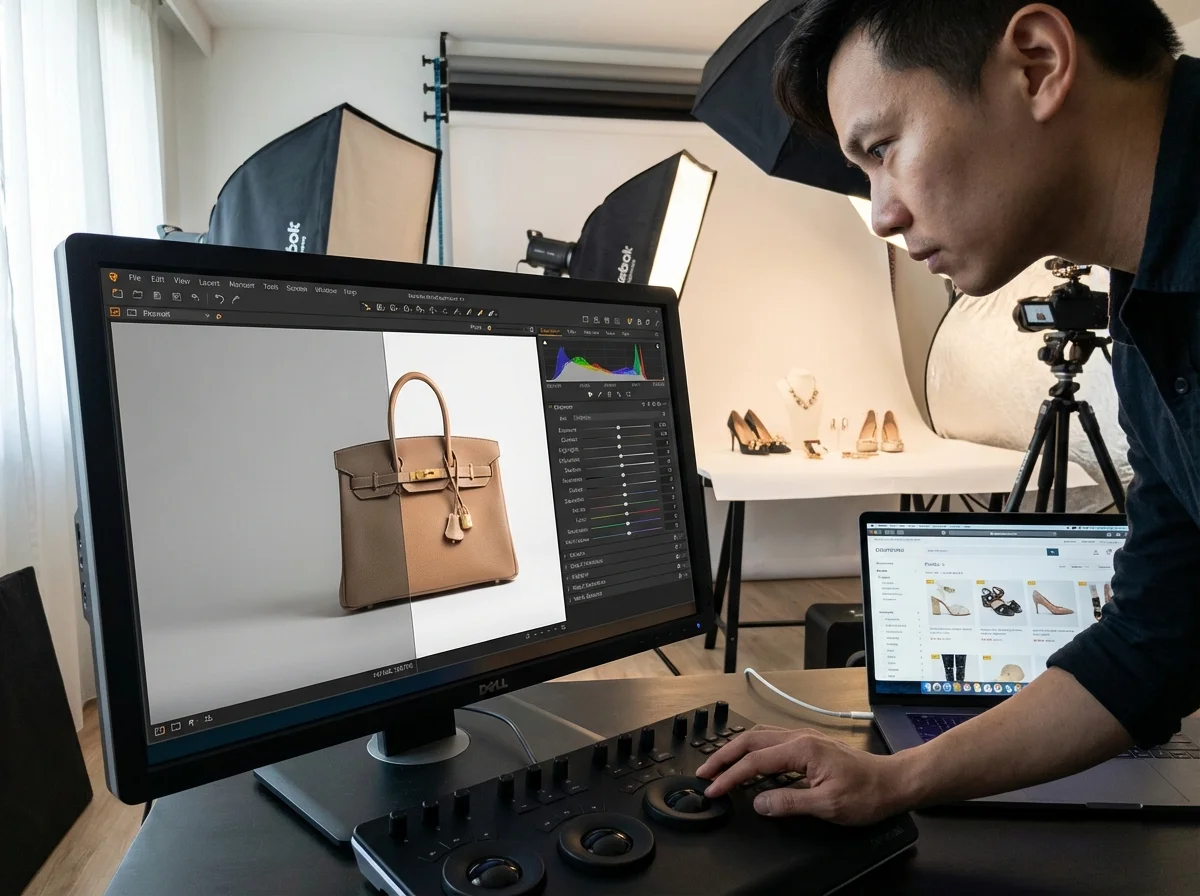
Post-Processing: Refining Your Images
Post-processing is where you take your good photos and make them great, correcting minor imperfections and enhancing the overall visual appeal. You’ll use editing software to remove any lingering dust, scratches, or smudges that you missed during the cleaning stage. This also includes removing any temporary supports or sticky tape used to prop up your product during the shoot.
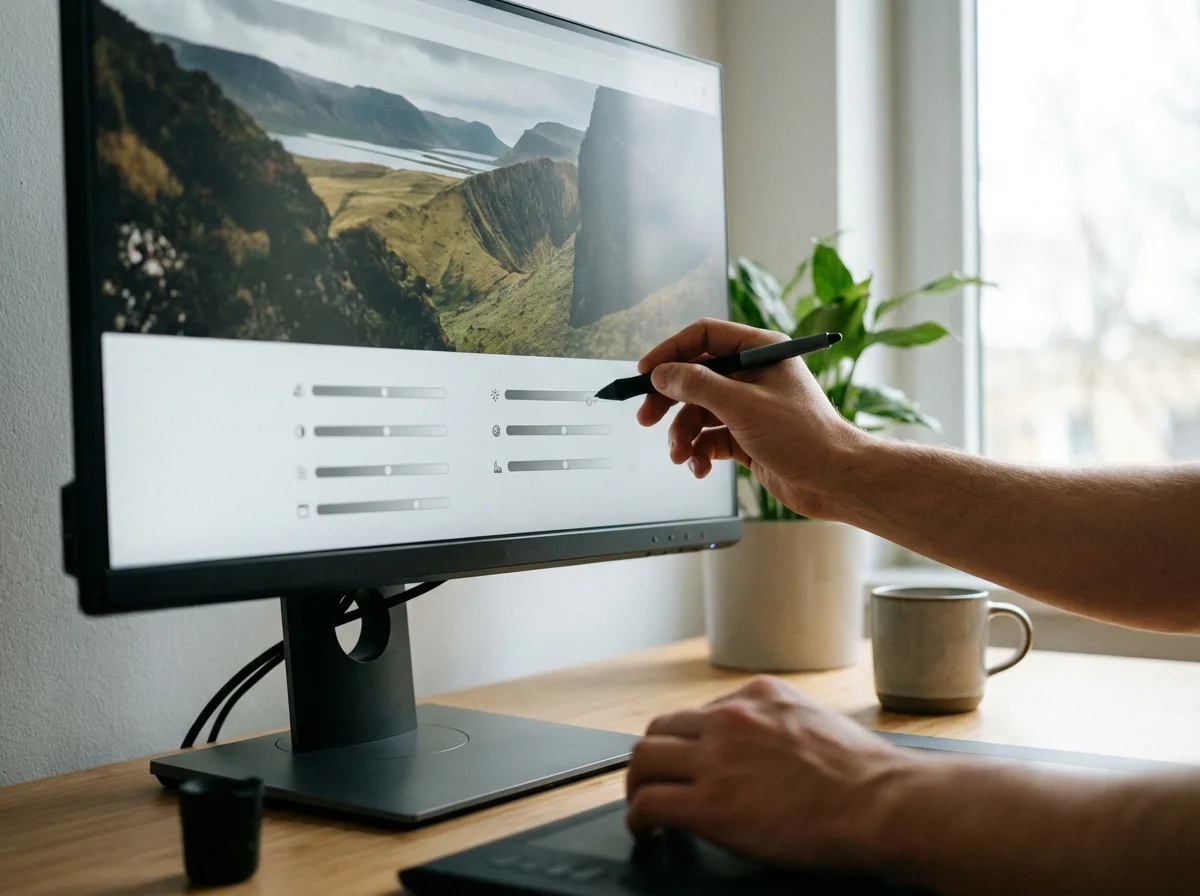
Beyond cleanup, post-processing allows you to refine the mood and impact of your photos. Adjusting highlights, shadows, and mid-tones can add depth and drama. For example, a slight increase in contrast can make textures more pronounced, while a subtle color correction ensures your product’s colors are true to life. You might also use techniques like dodging and burning to selectively lighten or darken areas, drawing the viewer’s eye to key features of the item.
Once your images are perfectly edited, you’ll need to prepare them for online use. Large, high-resolution files can slow down website loading times, frustrating customers and hurting your search engine ranking. Using an online image compressor helps reduce file size without noticeable quality loss, ensuring your product pages load quickly. For consistent branding across all your platforms, you might also consider how to achieve visual branding consistency in your image editing workflow.
Consider a small e-commerce boutique selling artisanal soaps. Initially, they uploaded raw, uncompressed JPEG files directly from their camera, averaging 5MB per product image. This resulted in slow page load times, with their bounce rate hitting 12% on product pages. After implementing a post-processing workflow that included using an image compressor, their average image size dropped to under 300KB. The outcome was clear: page load times improved by 60%, and their product page bounce rate fell to 4% within a month, directly impacting sales.
Mastering product photography involves a blend of technical skill and creative vision, but it’s entirely achievable for beginners. Start by creating a clean setup, experiment with illumination, meticulously prepare your items, and dial in your camera settings for sharpness. Finish with careful post-processing and optimization. By focusing on these steps, you’ll produce compelling visuals that showcase your merchandise professionally and effectively capture your customers’ attention.
For a practical option in this area, try Perfect White Background Product Photos Without Editing for learn the in-camera technique for white background product photography. this guide covers the ideal setup, lighting, and camera settings (f/8, iso 100).
FAQ
What is the best lighting setup for beginners in product photography?
For beginners, a single continuous light source with a white foam board or reflector as a fill light is an excellent starting point. This simple setup helps you control shadows and create balanced illumination without complex equipment.
How do I get a pure white background for my product photos?
To achieve a pure white background, use a seamless white paper roll or fabric sweep, ensuring it’s evenly lit. You’ll often need a separate light source pointed at the background to make it truly white, preventing it from appearing gray.
What camera settings are ideal for sharp product photos?
Aim for a narrow aperture (f/8.0 or higher) for maximum depth of field, a low ISO (100-200) to minimize noise, and adjust your shutter speed to achieve correct exposure. A tripod is crucial for maintaining sharpness with slower shutter speeds.
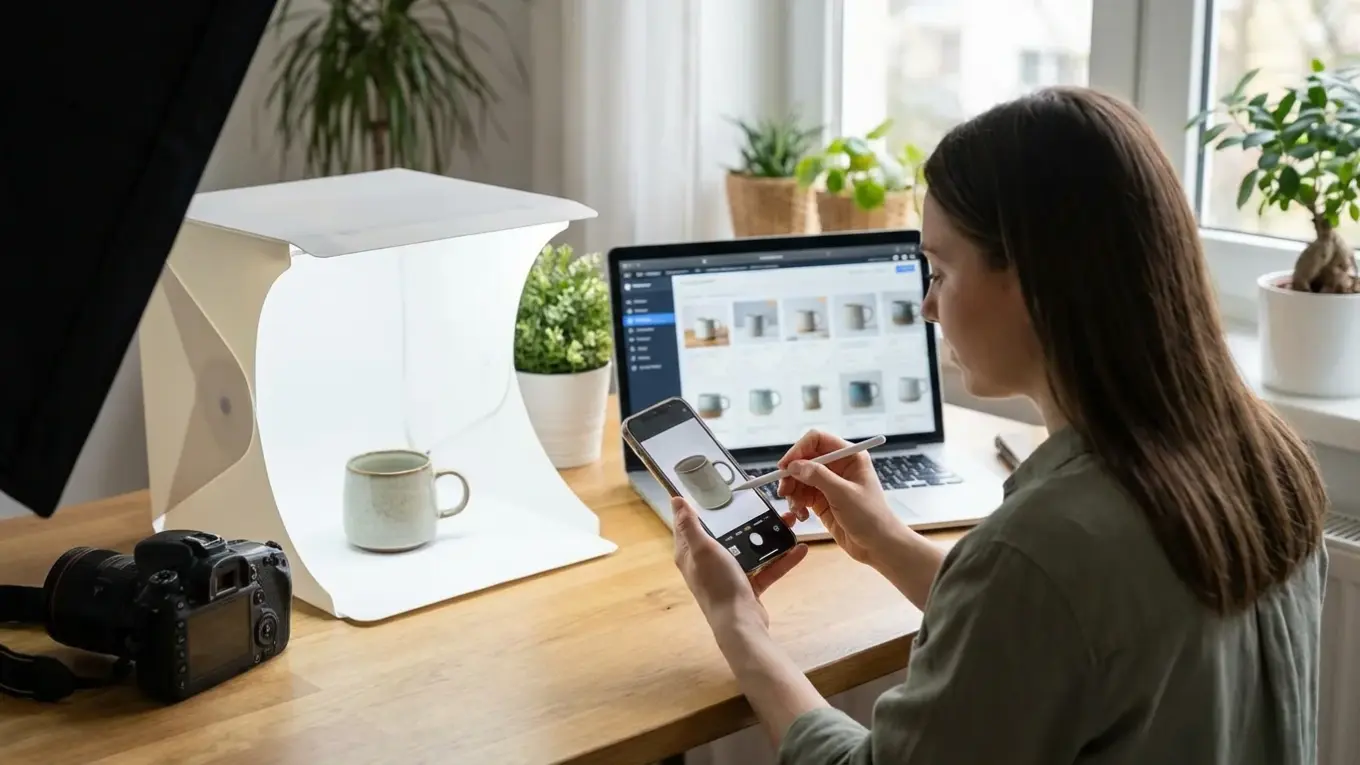
Can I use my smartphone for product photography?
Yes, modern smartphones have capable cameras for product photography, especially for online use. Focus on good lighting, stable positioning, and use editing apps to refine your shots. Many online tools, like a <a href=”https://roundcut.com.br/background-remover”>free background remover</a>, work great with smartphone photos.
Why is image compression important for product photos?
Compressing product images reduces their file size, leading to faster website loading times. This improves user experience, reduces bounce rates, and can positively impact your site’s search engine ranking, making your products more accessible to potential buyers.
Compress images without losing quality