Ghost Mannequin Photography: 6 Steps for E-commerce (2026)
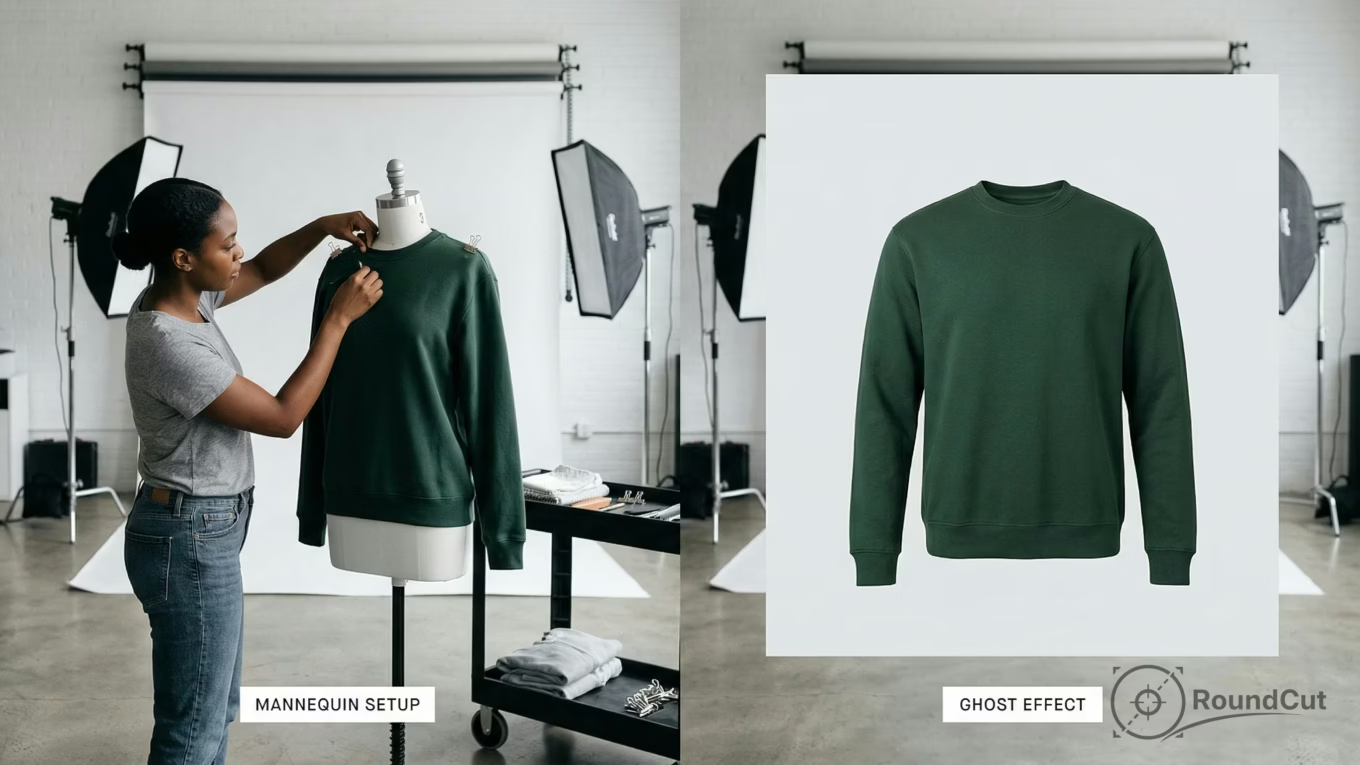
Ghost mannequin photography creates a compelling ‘invisible’ look for apparel, showcasing clothing on a 3D form without a visible model or mannequin. This technique involves photographing garments on a mannequin and then digitally removing the support in post-production. It helps e-commerce stores present consistent, professional product images that highlight fit and structure.
As an online clothing retailer, your product photos are the only way to convey quality and fit since customers can’t physically touch or try on your products. If those images look like a crumpled shirt on a flat surface, you’re missing an important opportunity to connect with buyers. Ghost mannequin photography solves this by making garments appear to float, giving shoppers a clear sense of how the item will look when worn. This approach provides a professional, consistent presentation across your entire catalog, an important factor for online sales in 2026.
What Is Ghost Mannequin Photography?
Ghost mannequin photography, also known as invisible mannequin photography or the ‘hollow man’ effect, is a post-production technique where you photograph clothing on a mannequin and then digitally remove the mannequin from the final image. The result is a product image where the garment appears to be worn by an invisible person. You see the clothing’s shape, structure, and fit without any visible mannequin or model.
This method is highly effective for e-commerce because it bridges the gap between a flat image and seeing the garment on a human form. It provides volume and drape that a flat lay cannot, yet avoids the complexities and costs associated with live models. Many leading fashion brands use this technique across thousands of products because it offers a scalable, consistent, and visually appealing way to display apparel.
Ghost Mannequin vs. Flat Lay vs. On-Model: A Comparative View
Each method of photographing clothing for e-commerce offers distinct advantages and disadvantages. Understanding these trade-offs helps you choose the best approach for different product types and marketing goals.
| Method | Shows Garment Shape | Cost per Image | Consistency Across Catalog | Production Speed | Best For |
|---|---|---|---|---|---|
| Ghost Mannequin | Yes, 3D structure visible | $15–50 | High | Moderate (shoot + edit) | Most clothing items, main product listings |
| Flat Lay | No, garment is flat | $5–15 | High | Fast | Accessories, small items, detail shots |
| On-Model | Yes, on a real body | $50–200+ | Low (different models) | Slow (model coordination) | Hero products, lookbooks, marketing campaigns |
You’ll find that most e-commerce brands use a combination of these methods. They might use ghost mannequin photography for the bulk of their catalog, reserving flat lay shots for accessories and smaller items. On-model photos are typically saved for hero products or seasonal marketing campaigns where the human element is important for storytelling. Deciding which method to use often depends on your budget, product volume, and the specific visual impact you want to achieve.
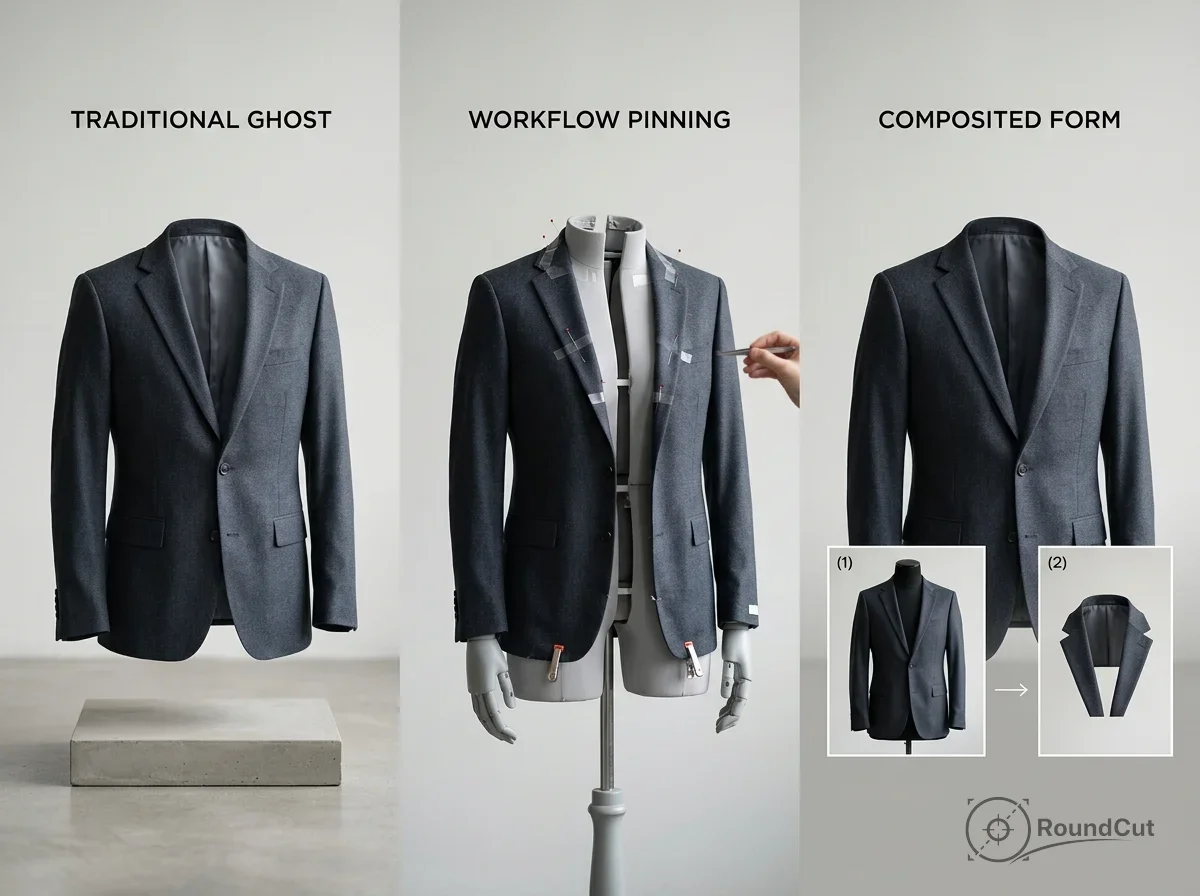
How to Shoot Traditional Ghost Mannequin Photos
Creating the ghost mannequin effect traditionally requires two specific photographs of the same garment: one with the garment on the mannequin (the ‘outer’ shot) and another showcasing the garment’s interior (like the collar, inner seams, or waistband). These images are later combined in post-production. Getting the photography right significantly reduces editing time.
- Studio Setup and Lighting: You don’t need an elaborate studio. A clean space with about 8×10 feet of room is often enough. You’ll need a camera with a 50–85mm lens to avoid distortion, a sturdy tripod to ensure consistent framing between shots, and two softbox lights placed at 45-degree angles to the mannequin for even, diffused illumination. A white paper roll or fabric backdrop is standard, making background removal easier. The mannequin itself needs to have removable body parts—detachable arms, neck pieces, and torso sections—which allows you to photograph the garment’s interior without fully undressing it.
- Styling the Garment: Always iron or steam every garment before placing it on the mannequin. Wrinkles are much easier to eliminate with an iron than in Photoshop. Pin the garment to the mannequin for a clean, fitted appearance, using clips or pins along the back where they won’t be visible in the front-facing shot. The garment should look like it fits the mannequin well, without sagging. For tops, button or zip them up, and roll sleeves consistently. For pants, use clips at the waist and stuff tissue paper in the legs to give them more shape.
- Capturing the Necessary Shots: You’ll take at least three shots per garment. The first is the front view on the mannequin, your primary image, with the camera centered at chest height. The second is the back view on the mannequin; simply rotate the mannequin 180 degrees without moving your camera or lights. The third is the interior shot. For this, remove the appropriate mannequin pieces to expose the garment’s inside, such as the inner collar or waistband. Photograph these areas while the garment remains on the mannequin. This interior shot fills the ‘gap’ where the mannequin’s body parts will be removed, preventing a hollow space in your final composite. Maintain consistent camera settings using manual mode, with an aperture between f/8 and f/11 for sharpness, ISO 100 or 200 to minimize noise, and a fixed white balance value.
Editing the Ghost Mannequin Effect in Photoshop
This is where your two photographs merge into a single, polished product image. While the process can take 15–30 minutes per garment initially, practicing and using Photoshop actions can reduce this to 5–10 minutes.
- Layering and Alignment: Open both your mannequin shot and interior shot in Photoshop. Place the mannequin shot as the base layer, then drag the interior shot onto a new layer above it. Lower the opacity of the top layer to about 50% to align the images. If you used a tripod and didn’t move the camera, they should align almost perfectly. If not, use the Free Transform tool to scale and position the interior shot until the relevant areas, like the collar or neckline, match up.
- Selecting and Masking the Mannequin: Select the mannequin layer. Use the Pen Tool for precise selections or the Quick Selection Tool for speed to select everything that isn’t the garment, including the mannequin’s neck, arms, and any visible body parts. Create a layer mask from your selection. The mannequin will disappear, leaving only the garment with a visible gap where the mannequin’s neck and upper body once were. This gap is what the interior shot will fill. For further assistance with background removal, a free background remover can provide quick, clean cutouts.
- Compositing the Interior Shot: Switch to the interior layer. Position it so the inner collar, neckline, or waistband precisely fills the gap left by the removed mannequin. Mask out everything on this layer except the interior portion you need. Use a soft brush on the mask edges to blend the interior shot smoothly with the outer garment. This step requires careful attention to detail; zoom in to 200-300% and use a small brush for clean, natural-looking edges.
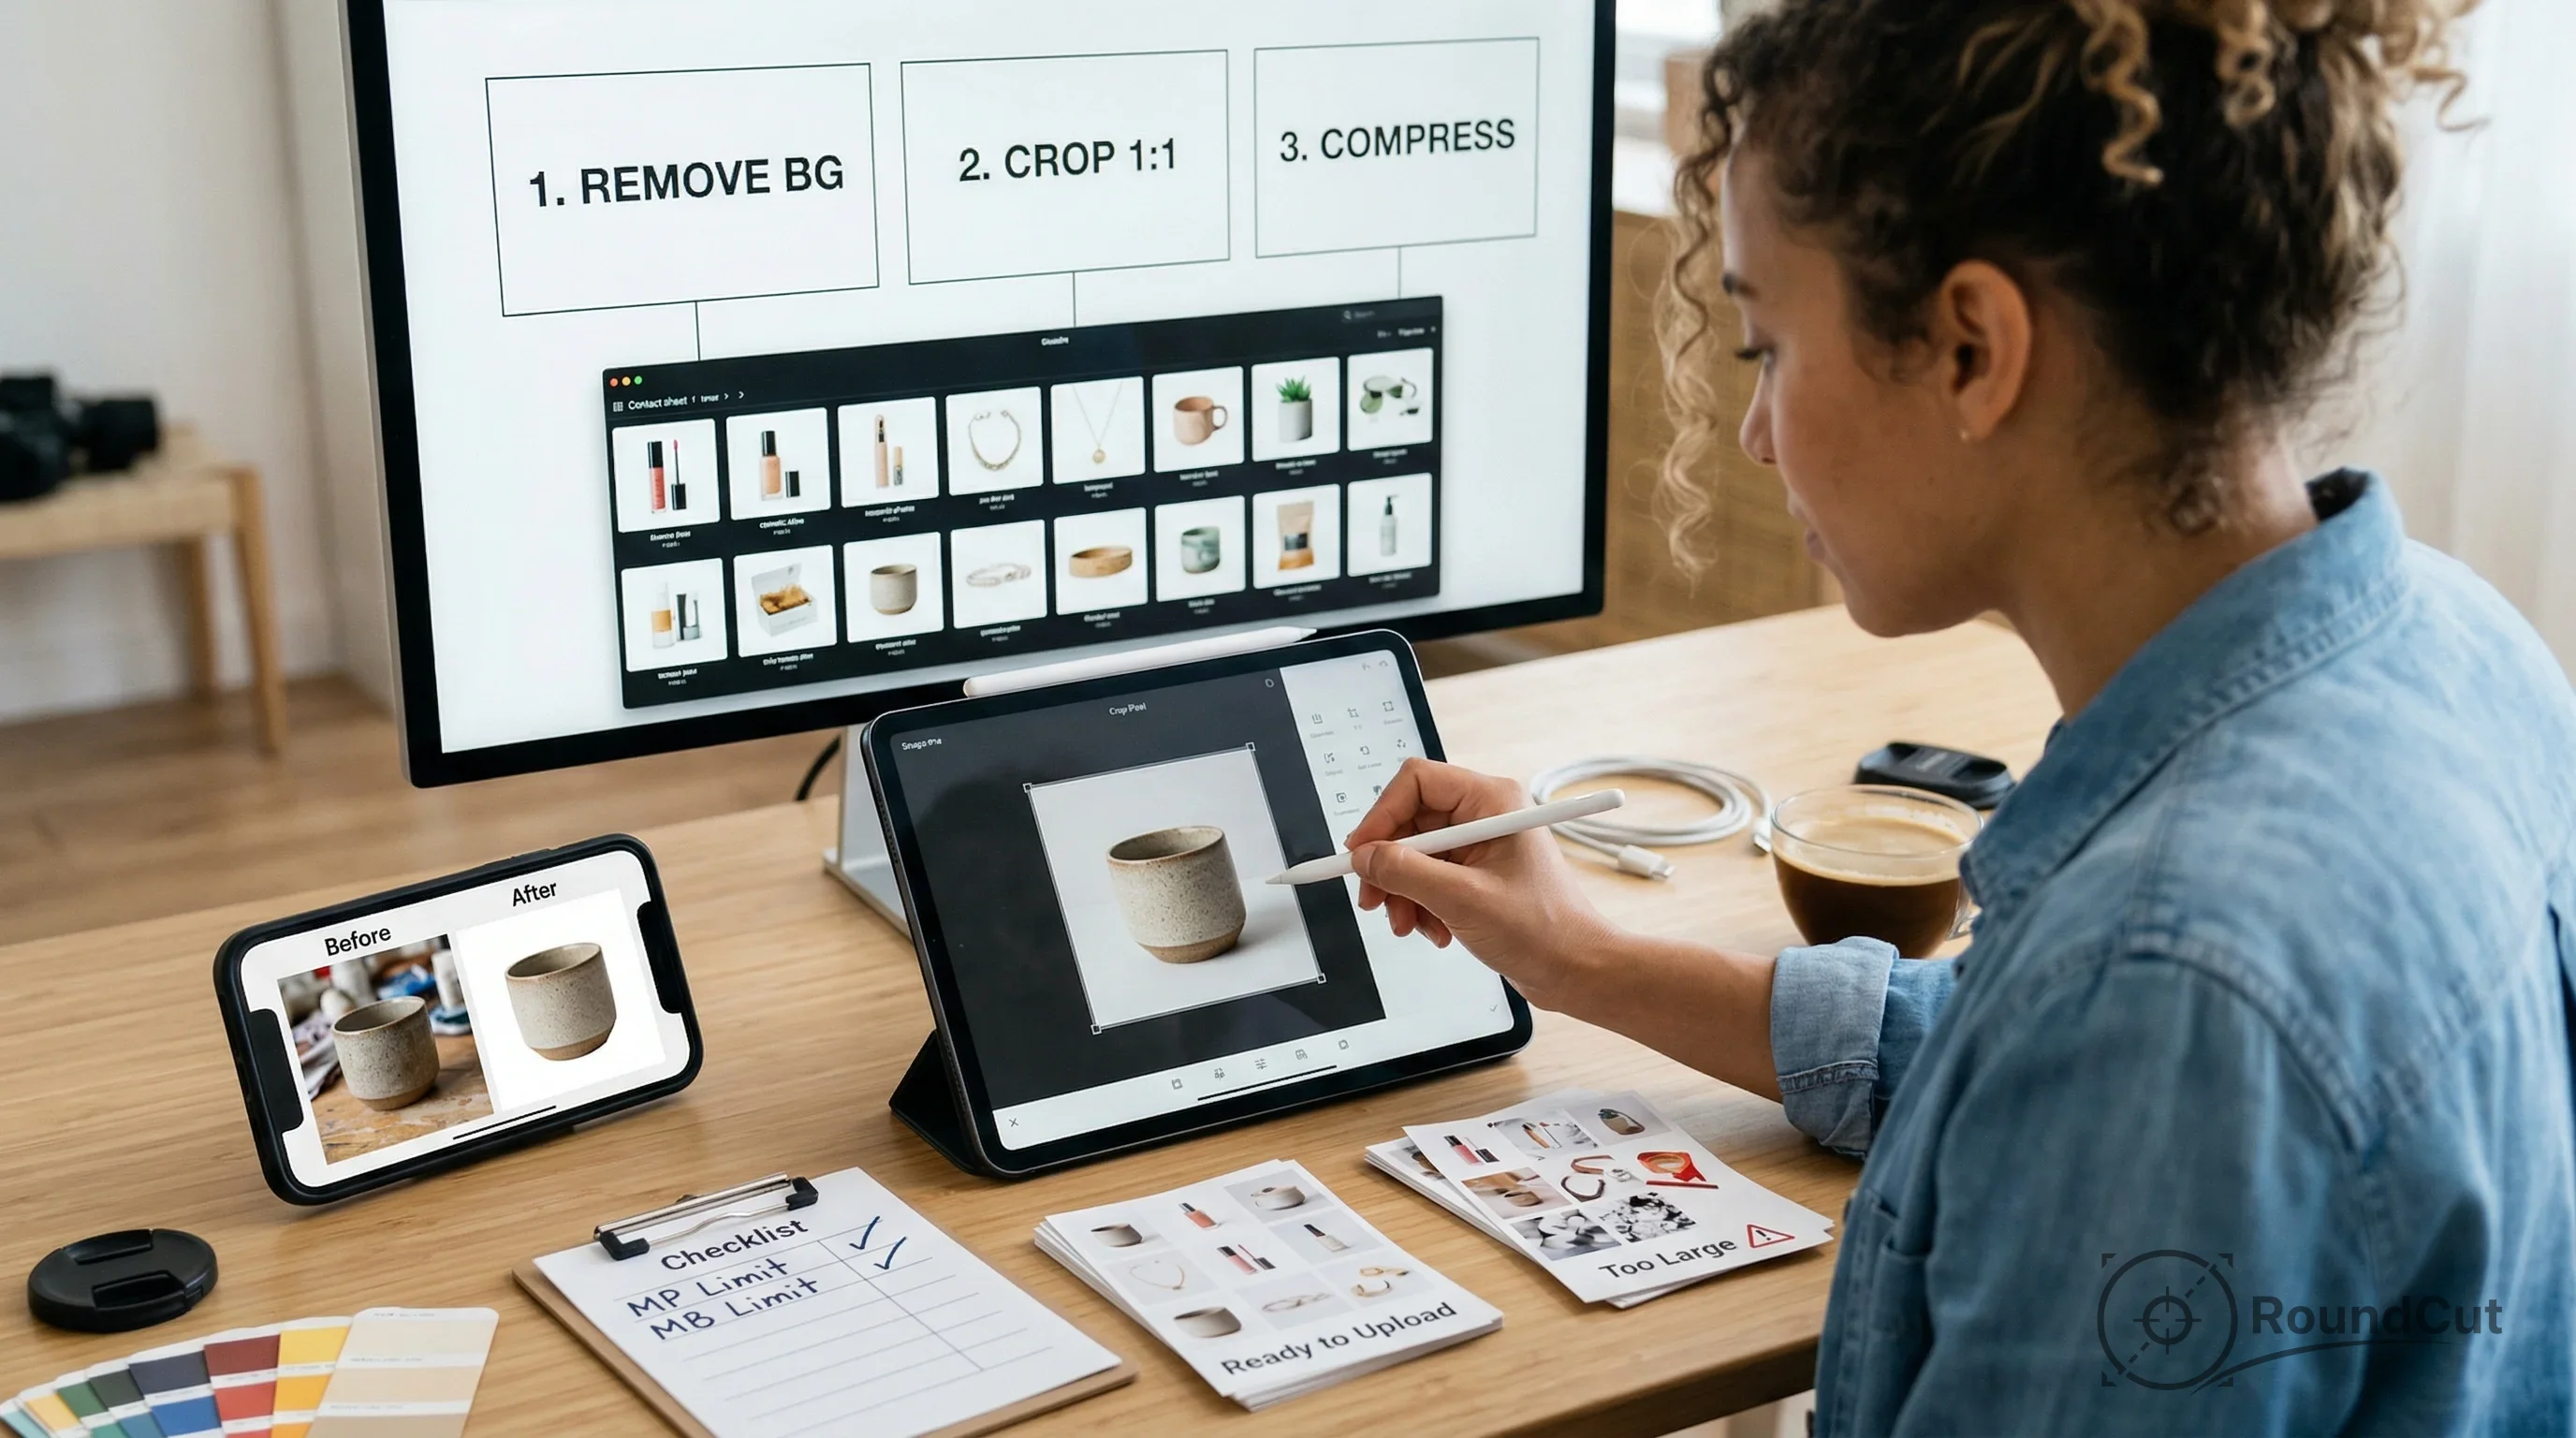
- Final Cleanup, Shadow, and Export: Once the composite looks good, flatten your layers. Check for any remaining mannequin artifacts around the collar, cuffs, or hem, and use the Clone Stamp or Content-Aware Fill tools to remove them. Add a subtle drop shadow beneath the garment to give it weight and prevent it from looking like it’s floating. A Gaussian blur shadow at 3-5% opacity works well. Perform minor color corrections if needed to match your brand’s aesthetic. Finally, export your image. Save a high-resolution TIFF for archival purposes and a web-optimized JPEG or WebP at 72 DPI. Most e-commerce platforms display product images at 1000–2000px on the longest side. For more on optimizing images, consider optimizing images for web performance.
The AI Shortcut: Generating Ghost Mannequin Images
While the traditional method provides precise control, it demands a physical mannequin, studio setup, and significant Photoshop expertise. In 2026, AI-powered tools offer a faster alternative, allowing you to create ghost mannequin images without a studio or complex editing.
These AI tools typically work by taking a simple flat lay photo of your garment and automatically generating a 3D ghost mannequin version. The AI analyzes the flat image to reconstruct the garment’s shape, drape, and structure, producing a result that closely resembles a traditional ghost mannequin photograph. The technology has advanced considerably, with current AI tools producing results that are often nearly indistinguishable from those created through manual photography and editing for many garment types. This represents a significant shift in efficiency for e-commerce businesses.
“Images make up on average 50% of a web page’s total weight, making optimization critical for load times and user experience.” — HTTP Archive
When deciding between AI and traditional methods, consider these points:
- Use traditional ghost mannequin photography when:
- You need absolute control over shadows, folds, and fabric detail for high-value items.
- The garment has complex construction that AI might struggle with, like heavy layering or unusual shapes.
- Your brand requires a specific, highly consistent aesthetic across all images.
- Use AI ghost mannequin tools when:
- You have a large product catalog requiring quick processing and a fast turnaround.
- Budget constraints make the $25–50 per image cost of traditional photography impractical.
- You already have flat lay photos and want to quickly add ghost mannequin versions to your listings.
- You need to test new products rapidly before investing in a full shoot.
Many brands adopt a hybrid approach, using traditional shoots for their top-selling products and marketing assets, while using AI for quick catalog expansion and long-tail items. This balance allows them to maintain high quality where it matters most while scaling efficiently.
Expert Tips for Polished Ghost Mannequin Results
Beyond the basic steps, several specific techniques can improve your ghost mannequin photos from amateur to professional, ensuring they stand out in a competitive online marketplace.
- Tape Down Collar Points: For dress shirts and blazers, use fashion tape (double-sided) to keep collar points sharp and symmetrical. This small detail is invisible in photos and saves considerable editing time.
- Shoot an Extra Angle: The 3/4 View: Most brands capture only front and back views. Adding a 3/4 angle, with the garment turned about 30 degrees, provides customers with a much better sense of the garment’s overall shape and fit. This extra shot can significantly impact conversion rates.
- Use a Gray Card for Color Accuracy: Photograph a gray card at the beginning of each session. This provides a reliable reference point for white balance correction in post-production, ensuring your colors remain true across all products. For details on ensuring image quality for various platforms, read about the best file format for transparent images.
- Stuff Shoulders and Chest: For lightweight fabrics like t-shirts or blouses, carefully stuff tissue paper inside the mannequin’s shoulder and chest areas. This adds volume and prevents thin fabrics from clinging to the mannequin, which can make them look deflated in photos.
- Create Photoshop Actions: If you’re processing more than ten images, record a Photoshop action for repetitive tasks such as background removal, shadow placement, and export settings. This automation can cut per-image editing time dramatically. When you’re ready to export, an online image compressor can help optimize your final files for web use without noticeable quality loss.
- Maintain Consistent Framing: Use painter’s tape on the floor to mark the exact positions of your mannequin and camera. This ensures every product appears at the same size and position within the frame, creating a clean, professional, and cohesive look as customers browse your catalog. For more general advice on product photography, explore essential steps for stunning product photography.
Mastering ghost mannequin photography, whether through traditional studio methods or advanced AI tools, offers a distinct advantage for e-commerce businesses. By presenting your apparel with a professional, 3D appearance, you help customers visualize fit and structure more effectively. Implement these techniques to create a consistent, high-quality product catalog that enhances your brand and drives stronger engagement with your online shoppers.
If your next step is get a pure white background for product photography using ai tools. compare post-production editing with traditional studio setups for better results, How to Get a White Background for Product Photography (2026) is a dedicated option for that workflow.
FAQ
Why is ghost mannequin photography important for e-commerce?
Ghost mannequin photography is important because it provides a 3D view of clothing, showcasing fit and drape without the distraction of a model or mannequin. This helps online shoppers better understand how a garment will look when worn, leading to increased confidence in purchases and fewer returns.
Can I create ghost mannequin effects without Photoshop?
Yes, you can create ghost mannequin effects without Photoshop by using AI-powered online tools. These tools typically allow you to upload a flat lay image of your garment, and the AI automatically generates a 3D ghost mannequin version, simplifying the process for high-volume catalogs.
What kind of mannequin do I need for this technique?
For traditional ghost mannequin photography, you need a mannequin with removable body parts, such as detachable arms, neck, and torso sections. These ‘invisible mannequins’ allow you to photograph the garment’s interior, which is crucial for compositing the final image.
How do I ensure consistent colors in my ghost mannequin photos?
To ensure consistent colors, always shoot in manual mode with a fixed white balance setting. Using a gray card at the start of each session provides a reference point for accurate color correction in post-production, preventing color shifts between different product images.
Is AI ghost mannequin quality good enough for my product listings?
For many garment types and high-volume catalogs, current AI ghost mannequin tools produce results that are more than adequate for product listing pages. While traditional methods offer ultimate control for luxury items, AI provides a fast, cost-effective solution for consistent, professional images.
Remove image backgrounds for free