How to Make a Circle Image Online for Free (Step-by-Step)
Ever wanted to make a circle image? It’s way simpler than you might think. All you need is a free online tool with a shape cutout feature. You just upload your photo, place the circular frame over your subject, and download the result. Simple as that. Plus, for a transparent background—which is a must-have for professional profile pictures and logos—you just have to save the final file as a PNG.
We’ve all seen it: a profile picture on LinkedIn or Instagram where someone’s head is awkwardly cropped, or a company logo looks weird because the platform forced it into a circle. This is what happens when you upload a standard square or rectangular photo and just let the social media site guess at the cropping. The result often looks unprofessional. But when you take control of the crop yourself, you guarantee your picture looks exactly how you want it, everywhere it’s displayed.
What Is a Circle Image and Why Use It?
So, what exactly is a circle image? It’s just a photo that has been cropped into a perfect circular shape, usually with the surrounding area made transparent. It sounds basic, I know. Yet, this technique is surprisingly powerful because our eyes are naturally drawn to curves and rounded shapes over sharp angles. A circular format feels softer, more organic, and focused. It directs the viewer’s eye straight to the center of the visual, making it perfect for highlighting a face or a central logo element.
The most common use, of course, is for profile pictures on social media, email signatures, and team pages. It creates a clean and professional look. Beyond just avatars, though, circular visuals work well as call-to-action buttons on websites, icons in an app interface, or even as creative elements in digital collages. In my experience with client branding, I’ve seen that switching from a square to a circular logo on social media instantly makes a profile feel more modern and approachable.
How to Make a Circle Image Online Step-by-Step
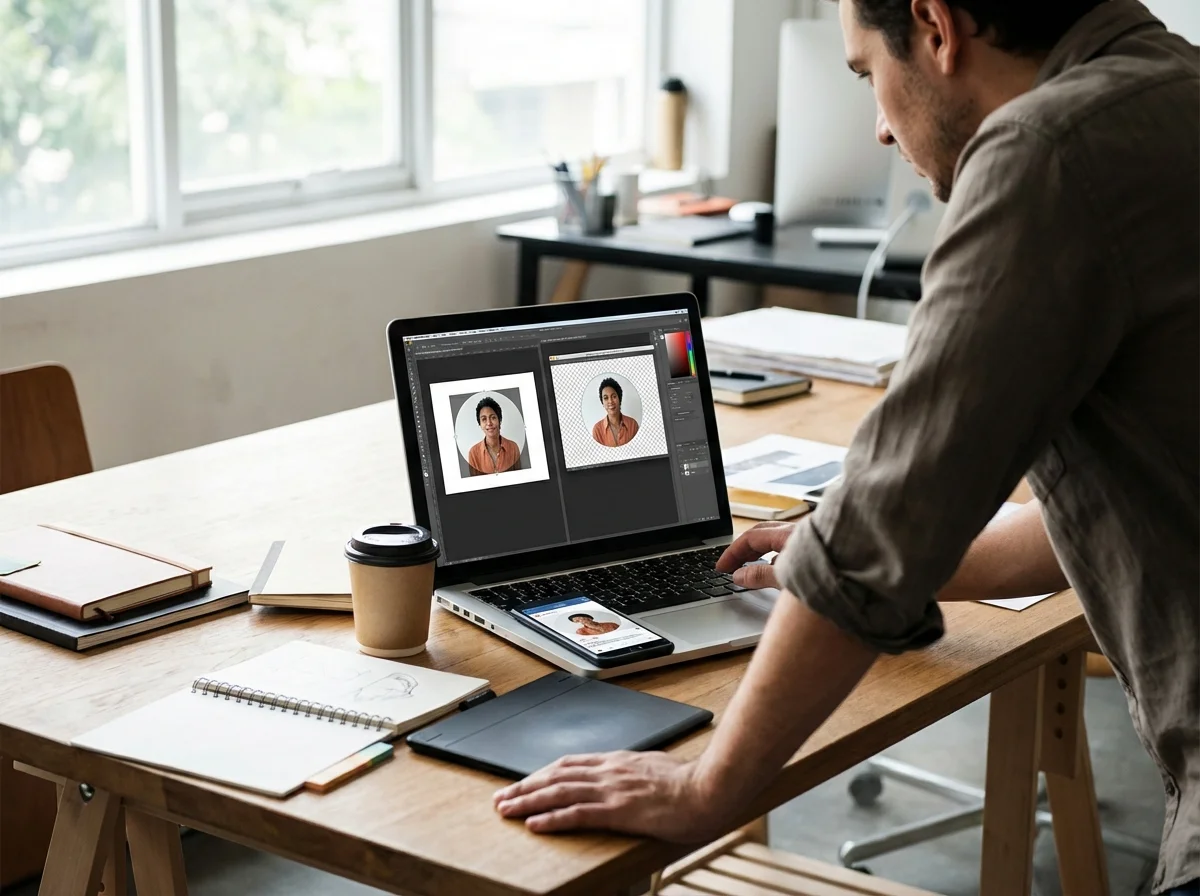
Look, you don’t need complex software like Photoshop to create a perfect circle image. The most efficient way is using a dedicated online tool. While some big editors have this feature, a simple, free circle crop tool gets the job done in seconds. No signup needed. The process is pretty much the same everywhere. Here’s the basic workflow:
- Upload Your Image: First, select the photo you want to edit from your computer or phone. Try to choose a high-quality visual where the main subject has some breathing room around it.
- Apply the Circle Frame: The tool will place a circular frame over your picture. You can drag this circle around to position it perfectly. On top of that, you can usually resize the circle by dragging its edges to capture more or less of the visual.
- Adjust and Preview: Now, center your subject within the frame. For a headshot, I find it’s best to make sure the eyes are roughly in the middle with a little space above the head. Most tools give you a live preview so you know exactly what you’re getting.
- Download Your Image: Once you’re happy, just hit the download button. Remember, to keep that background transparent, save the file as a PNG.

Tips for Perfect Circle Cropping and Advanced Edits
Getting the crop right is more art than science, but a few guidelines make a huge difference. The biggest mistake I see? People cropping way too tightly. You should always leave a little ‘breathing room’ around your subject’s head or the main element of your logo. This negative space keeps the visual from feeling cramped. Also, pay attention to what’s behind your subject. Even though most of it will be cropped out, a busy background can still peek through at the edges and be distracting.
For more advanced edits, you might want to adjust the picture before you start cropping. For instance, if the lighting is off or the colors look dull, use a basic photo editor to enhance them first. Some online solutions also let you add a colored border or a subtle drop shadow, which can help your circle pop against different backgrounds. This is super useful for logos that need to stand out.
Let me give you a practical example. Imagine a small e-commerce store selling handmade jewelry. They needed to create uniform author photos for their blog’s contributor section but had 10 different pictures in various sizes and orientations. Instead of struggling with manual editing, the owner used an online circle crop tool. In less than 15 minutes, she processed all 10 photos, ensuring each was perfectly centered. It was a simple step that saved her hours and gave the team page a much more polished, professional look.
How Do You Make a Circle Image with a Transparent Background?
A transparent background is what separates a professional-looking circle picture from an amateur one. It’s a . Without it, your circular photo will just sit inside a white or black square wherever you place it, which doesn’t look great.
The secret is the file format you use. Here’s the deal: JPEG format does not support transparency. You absolutely must save your cropped visual as a PNG (Portable Network Graphics). The PNG file format was literally designed to handle transparency using something called an alpha channel, which JPEGs just don’t have. Luckily, most online circle cropping tools default to PNG, so you often don’t have to think about it. But if you get a choice, always pick PNG.
What if your original photo has a busy background you want to remove completely? No problem. It’s just a two-step process. First, use a free background remover to isolate your subject. That gives you a clean PNG of just the person or object. Then, you take that new, clean visual and upload it to a circle crop tool. This is a technique I use all the time to create ultra-clean avatars for corporate clients.
How to Save and Share Your Circle Image for Different Platforms
Okay, so you’ve created your perfect round crop. The final step is saving it correctly. For any web use—especially on platforms like LinkedIn or as a website asset—file size really matters. A large file can slow down page loading times. While PNGs are great for transparency, they can sometimes be larger than JPEGs. I’ve learned the hard way that a massive PNG can hurt performance, so I always run my final files through an online image compressor to shrink the file size without losing quality.
It’s also worth knowing that some platforms don’t technically require a pre-cropped circle. Many modern websites and apps use CSS code to display square pictures as circles. They apply a property called border-radius that just rounds the corners automatically. Still, you can’t rely on this. Cropping the visual yourself gives you full control and guarantees it will look right everywhere, including older systems or email clients that might not use this CSS trick. For more on creating the ideal profile picture, check out these 5 tips for a perfect LinkedIn profile photo in 2026.
Making a polished circular image is a simple skill that can seriously improve your online presence. It’s not about having fancy software; it’s about understanding a few basics of composition and picking the right file format. So, the next time you need a new profile picture or a web icon, don’t just upload a square photo and hope for the best. Take 30 seconds to use a dedicated online tool to crop it into a perfect circle. You’ll see the difference right away.
To expand semantic coverage and answer closely related search intent, also address terms such as “circle crop image online” and “make circle image online”.
FAQ
Can I make a circle image on my phone?
Yes, many online circle crop tools are mobile-friendly and work directly in your phone’s web browser. You can upload a photo from your camera roll, adjust the circle, and download the finished PNG back to your device without needing a dedicated app.
Why does my circle image still have a white square background?
This almost always happens because the image was saved as a JPEG instead of a PNG. The JPEG format does not support transparency, so any transparent areas are filled with a solid color, usually white. To fix this, re-save or re-download your image and make sure to select the PNG format.
What is the best size for a circle profile picture?
A good rule of thumb for most social media platforms like LinkedIn or Instagram is to start with a square image that is at least 400×400 pixels before you crop it. This ensures the final circular image is sharp and clear, even on high-resolution displays.
How do I put a border around my circle image?
Some advanced online image editors have a built-in feature to add a stroke or border after you apply the circular shape. If you’re using a simpler tool, you can achieve this by creating a slightly larger colored circle and placing your cropped photo on top of it as a separate layer.
Crop images into a circle for free