How to Optimize Images for Google PageSpeed with ShortPixel
If you’ve spent hours capturing perfect product photos only to see your website’s performance suffer, you know how frustrating a low Google PageSpeed score can be. The most common culprit is often high-resolution images, where every megabyte slows down your loading time, hurts your search engine ranking, and turns potential customers away. A WordPress plugin like ShortPixel solves this by automatically compressing your images. It significantly reduces file sizes with minimal impact on visual quality, helping your pages load faster by optimizing your entire media library and handling new uploads automatically.
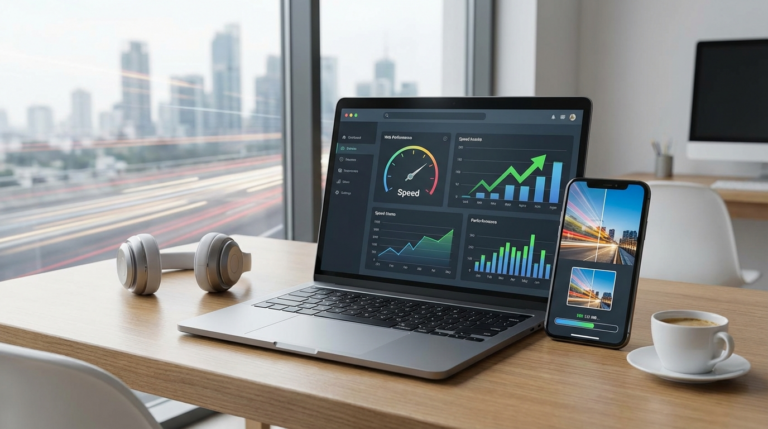
What is Google PageSpeed, and Why Do Images Matter?
Google PageSpeed Insights is a free tool that analyzes your website’s performance on both desktop and mobile devices. It assigns a score from 0 to 100 based on various metrics, including loading speed and user experience. Large, unoptimized images are one of the most common reasons for a low score. A single 2MB photo can take seconds to load on a slow connection, while an optimized version of the same image might be under 200KB, a difference that significantly impacts loading times.
Your site’s speed is not just a technical detail; it is a critical factor for search engine optimization (SEO). Google uses page speed as a ranking signal, meaning faster websites are more likely to appear higher in search results. For an e-commerce store or a content creator, this directly translates to visibility and traffic. By addressing image sizes, you tackle one of the biggest obstacles to achieving a high PageSpeed score. This entire process is a core part of image optimization.
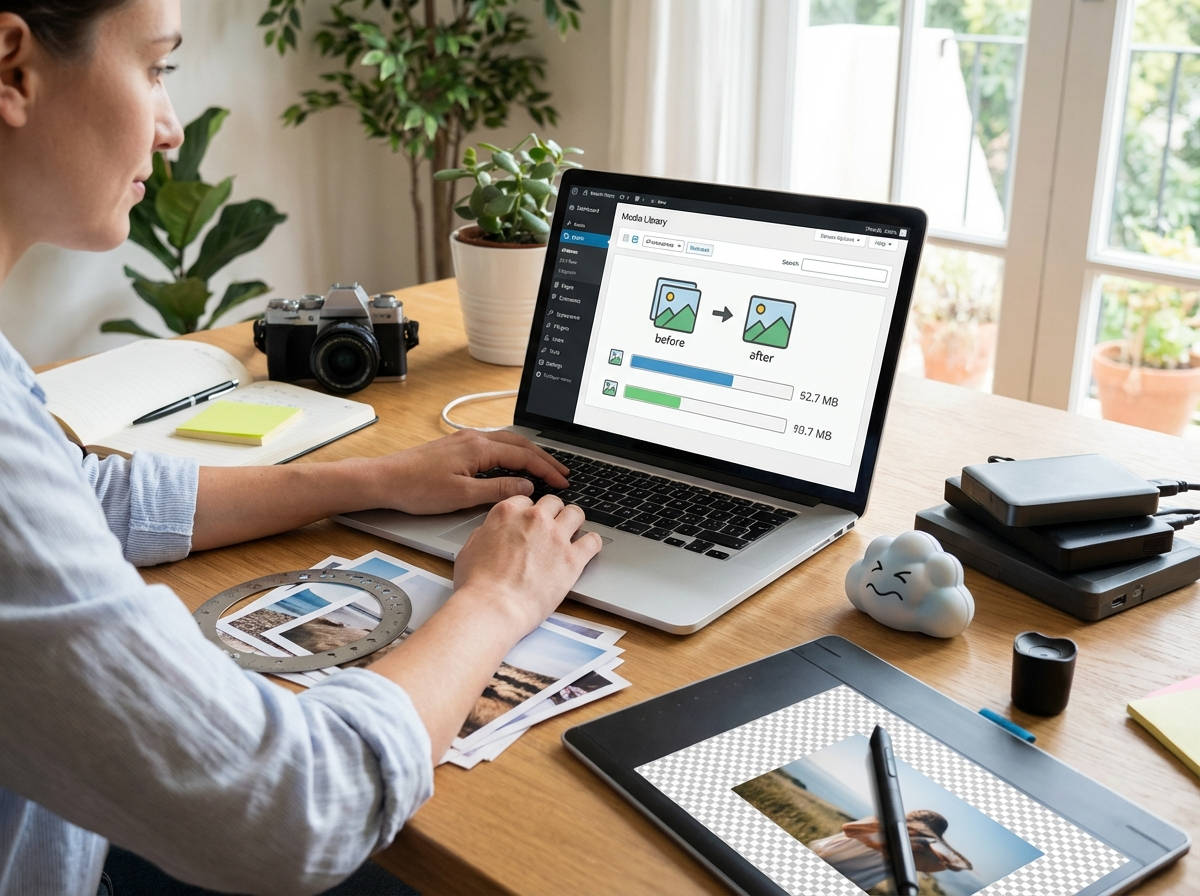
Introducing ShortPixel: A Practical Solution for WordPress
ShortPixel is an image optimization plugin designed specifically for WordPress websites. Its primary function is to automatically compress images in your media library, reducing their file size without sacrificing quality. The plugin works in the background, making it a set-and-forget solution for busy site owners. It handles common file types, including JPEG, PNG, and GIF, and can even convert them to next-generation formats.
The plugin offers several key features that make it a powerful choice:
- Multiple Compression Levels: You can choose between Lossy, Glossy, and Lossless compression. Lossy offers the highest compression for the smallest files, while Lossless maintains perfect pixel-for-pixel quality at the cost of a larger file size. Glossy strikes a balance between the two.
- WebP and AVIF Creation: ShortPixel can automatically create WebP or AVIF versions of your images. These modern formats are much smaller than traditional JPEGs and PNGs and are recommended by Google for better performance.
- Bulk Optimization: If you have an existing website with hundreds or thousands of images, you can use the bulk tool to optimize your entire library in one go.
- Original Image Backups: The plugin saves your original images in a separate folder, allowing you to restore them at any time if you are not satisfied with the compressed version.
How to Set Up and Configure ShortPixel
Getting started with ShortPixel is a straightforward process that takes only a few minutes. You begin by installing the plugin directly from the WordPress plugin directory. Once activated, it will prompt you to get an API key by providing your email address. This key connects your website to the ShortPixel service.
After entering your API key, you will need to configure a few settings. Here are the most important ones:
- Compression Type: For most websites, Glossy is the recommended starting point. It provides excellent compression with virtually no visible quality loss. If speed is your absolute priority, you can choose Lossy.
- Create WebP/AVIF versions: You should enable this option. Serving next-generation image formats is one of the key recommendations from Google PageSpeed. You can learn more about the differences between PNG vs JPEG vs WebP to understand the benefits.
- Backup Images: Always keep this enabled. It gives you a safety net to revert any changes if needed.
- Resize large images: This feature automatically scales down excessively large images to a maximum width or height you define, which is useful for preventing authors from uploading massive, unedited photos.
Once your settings are saved, navigate to the Media menu and select ‘Bulk ShortPixel’. Start the process, but be patient. For a large media library, optimization can take several hours or even days. You must keep the browser tab open for the process to continue.
Manual Optimization: The Step Before the Plugin
While a plugin like ShortPixel automates much of the work, the best results come from a two-step approach. Before you even upload an image to WordPress, you should perform some basic manual optimizations. First, resize your images to the actual dimensions you need. For example, if your blog’s content area is 900 pixels wide, there is no reason to upload a 4000-pixel-wide image. Resizing it first drastically reduces the initial file size.
By compressing images before uploading them, you save processing time and plugin credits, ensuring your optimization workflow is as efficient as possible.
Second, run the resized image through a compression tool. This pre-compression step can shrink the file even further. You can use a simple online image compressor to handle this task quickly without installing any software. This manual check ensures you are only uploading files that are already reasonably optimized, letting ShortPixel focus on the final polish, like creating WebP versions. Following these steps consistently will teach you how to compress images without losing quality effectively.

Measuring Your Success with PageSpeed Insights
After the bulk optimization process is complete, it is time to measure the impact. Return to Google PageSpeed Insights and run the test on your website again. You should see a noticeable improvement in your overall score, especially in the mobile results. Pay close attention to metrics like Largest Contentful Paint (LCP), which measures how long it takes for the largest image or text block to become visible.
In the ‘Opportunities’ section of the report, you should see that warnings like “Properly size images” and “Serve images in next-gen formats” have been resolved or significantly improved. If you are a publisher using certain ad networks, your score can sometimes be affected by ad scripts. A useful trick is to add `?test=pagespeed` to the end of your URL when testing. This parameter can sometimes serve a lighter version of ads, giving you a clearer picture of your site’s actual performance without external interference.
Improving your Google PageSpeed score is not an abstract goal; it is a concrete action that enhances user experience and boosts your site’s visibility. Large images are often the primary bottleneck, but tools like ShortPixel make the solution accessible to everyone on WordPress. Instead of letting slow-loading photos hurt your business, take control of your site’s performance. Your first step is to analyze your media library and start optimizing your most important pages.
FAQ
Does ShortPixel reduce image quality?
ShortPixel offers multiple compression levels. ‘Lossy’ provides the smallest files with a slight, often unnoticeable, quality reduction. ‘Glossy’ offers a great balance for high-quality photos, while ‘Lossless’ reduces file size with no visual change.
How many images can I optimize for free with ShortPixel?
ShortPixel provides a free plan that typically includes 100 image optimization credits per month. For websites with a larger media library, you can purchase one-time credit packages or subscribe to a monthly plan.
Do I still need to resize images if I use ShortPixel?
Yes, for the best results. Resizing your images to the maximum required display dimensions before uploading them reduces the initial file size. This allows ShortPixel to work more efficiently and helps you save optimization credits.
Can ShortPixel create WebP images?
Yes, one of ShortPixel’s key features is its ability to automatically generate and serve WebP or AVIF versions of your images. These next-generation formats are recommended by Google for their superior compression and quality.
Compress images without losing quality