How to Optimize Photos for Your Website: A Complete Guide
A customer clicks on your product page, waits three seconds, and leaves. You just lost a sale not because of your price or product, but because a high-resolution image slowed your site to a crawl. For an e-commerce store, page speed is directly tied to revenue. Heavy product photos are often the primary cause of slow loading times, leading to higher bounce rates, lower search engine rankings, and abandoned carts.
Optimizing your images is not a technical chore; it is a fundamental business task. Properly sized and compressed photos ensure your online store is fast, responsive, and professional, providing a smooth experience that encourages customers to complete their purchase on platforms from Shopify to Mercado Livre.
Choose the Right File Format for Each Job
The file format you choose for your images has a significant impact on both file size and visual quality. Selecting the wrong one can lead to unnecessarily large files or poor-looking product shots. There is no single best format; the right choice depends on the image’s purpose.
JPEG for Complex Scenes
Use the JPEG (or JPG) format for photographs with many colors and details, such as lifestyle images, banners, or blog post photos. JPEGs use lossy compression, which means they discard some image data to reduce file size. This trade-off is excellent for complex photos where minor detail loss is unnoticeable, but it makes them unsuitable for images requiring sharp lines or transparency.
PNG for Transparency and Sharpness
PNG is the ideal format for your primary product photos, especially when you need a transparent background. This allows your product to appear on any color background on your website without a white box around it. PNGs use lossless compression, preserving all image data, which results in crisper lines and text. This quality comes at the cost of a larger file size compared to JPEGs. To create a PNG with a transparent background, you can use a tool like the RoundCut Background Remover to isolate your product from its original setting.
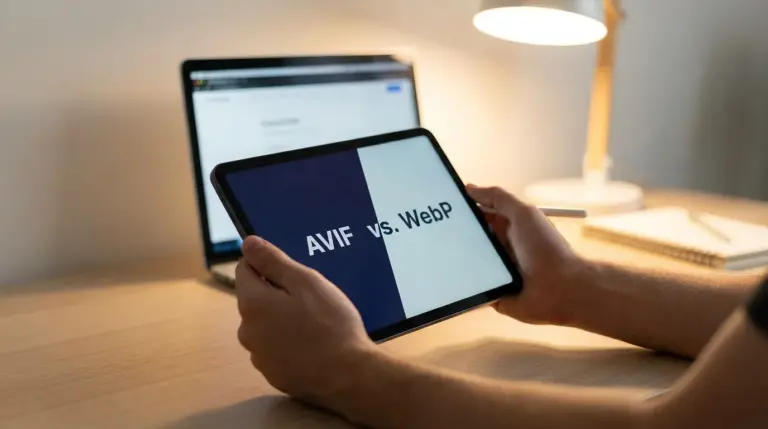
WebP for Modern Performance
WebP is a modern format developed by Google that offers both lossy and lossless compression in a smaller file size than JPEG and PNG. It supports transparency and provides superior quality at a reduced weight. Most modern browsers support WebP, and e-commerce platforms like Shopify automatically convert uploaded images to this format to improve performance. When possible, using WebP is a great way to speed up your site.
Resize Dimensions Before Uploading
One of the most common mistakes is uploading a large photo directly from a camera and letting the website’s software resize it. A photo might be 5000 pixels wide, but your product page only displays it at 800 pixels. Even if the image appears smaller on the screen, the browser still has to load the full 5000-pixel file, which drastically slows down the page.
Always resize your images to the final display dimensions before you upload them. Check your e-commerce theme’s documentation for recommended image sizes. A good general guideline for a main product image is between 1000 and 1600 pixels on the longest side. For thumbnails, 150 to 300 pixels is usually sufficient. Resizing first ensures the browser only loads the data it needs.
Compress Images to Reduce File Size
After choosing the right format and resizing the dimensions, the final step is compression. Compression reduces the file size (measured in kilobytes or megabytes) without a noticeable loss in quality. A large product photo might be 2 MB (2,000 KB) after resizing, but compression can often reduce it to under 200 KB.
For e-commerce, aim to keep your main product images under 200 KB and other images like banners under 500 KB. This simple rule dramatically improves loading times, especially for mobile users.
Online tools can handle this process efficiently. For example, the RoundCut Compressor allows you to upload your resized images and reduces their file size while maintaining visual clarity. This balance is key; you want the smallest possible file that still looks sharp and professional to your customers. A 90% reduction in file size is common. A 3 MB file becoming 300 KB means your page loads significantly faster.
Write Descriptive Alt Text for SEO and Accessibility
Alt text (alternative text) is a short, written description of an image that serves two main purposes. First, it makes your site accessible to visually impaired users who use screen readers. The screen reader reads the alt text aloud, describing the image. Second, it helps search engines understand what your image is about, which can improve your product’s ranking in image search results.
Your alt text should be descriptive and include relevant keywords. Avoid generic descriptions like “product image.” Instead, be specific.
- Bad Alt Text: shoes.jpg
- Good Alt Text: Red leather running shoes with white soles for men
Most e-commerce platforms have a dedicated field for alt text when you upload or edit an image. Filling this out for every product photo is a simple step that benefits both users and your search visibility.
Optimizing your website’s images is not a one-time task but an ongoing practice that directly impacts your sales. Start by auditing the five best-selling products in your store. Check their image dimensions and file sizes. Use the guidelines you’ve learned to resize and compress them, and then measure the improvement in your page loading speed. A faster, more accessible site creates a better customer experience and supports your business’s growth.
Compress images without losing quality