Image Optimization: How to Speed Up Sites & Boost SEO
Ever had this happen? You find the perfect photo for your website, upload it, and suddenly your page takes forever to load. Visitors get frustrated. They leave. And your search engine ranking starts to slip. We’ve all been there. This common problem almost always stems from a single source: unoptimized images. Large, heavy image files are one of the biggest culprits behind slow websites, directly hurting user experience and your bottom line.
So what’s the fix? Image optimization. It’s simply the process of shrinking an image’s file size as much as possible without making it look pixelated or blurry. It involves a smart balance of choosing the right file format, compressing the data, and resizing the dimensions to fit its intended space. Get this right, and your website will be fast, responsive, and much more appealing to both visitors and search engines.
Why Image Optimization Is a Non-Negotiable
Look, optimizing your visuals goes way beyond just making a page load faster. This is a core practice for any successful website, especially for e-commerce stores where photos drive sales. Think it doesn’t matter? According to data from HTTP Archive, images can make up nearly 40% of a total webpage’s weight on mobile devices. Reducing that weight brings immediate benefits.
- Improved User Experience: Fast-loading pages keep visitors engaged. A delay of just a few seconds can cause people to leave your site in droves. When your visuals load quickly, users can browse your content or products without a hitch.
- Better SEO Performance: Plus, search engines like Google use page speed as a ranking factor. A faster website is more likely to rank higher in search results, bringing more organic traffic. Optimized images also have a better shot at appearing in Google Images search, creating another channel for discovery.
- Higher Conversion Rates: For online stores, this is huge. Speed is directly tied to revenue. A snappy, responsive site builds trust and makes the shopping experience smoother, which encourages customers to actually complete their purchases.
Choosing the Right Image Format
First things first: the file format. This choice determines how an image stores data, which directly affects its size and quality. Let’s be honest, getting this right from the start saves a lot of headaches. There are several common formats, and each has its own strengths.
JPEG (or JPG)
In my experience, JPEG is the workhorse format for photographs and complex visuals with tons of colors and gradients. It uses what’s called ‘lossy’ compression, meaning it cleverly removes some data you can’t even see to shrink the file size. While this technically degrades quality, the difference is often unnoticeable, and the size savings are massive.
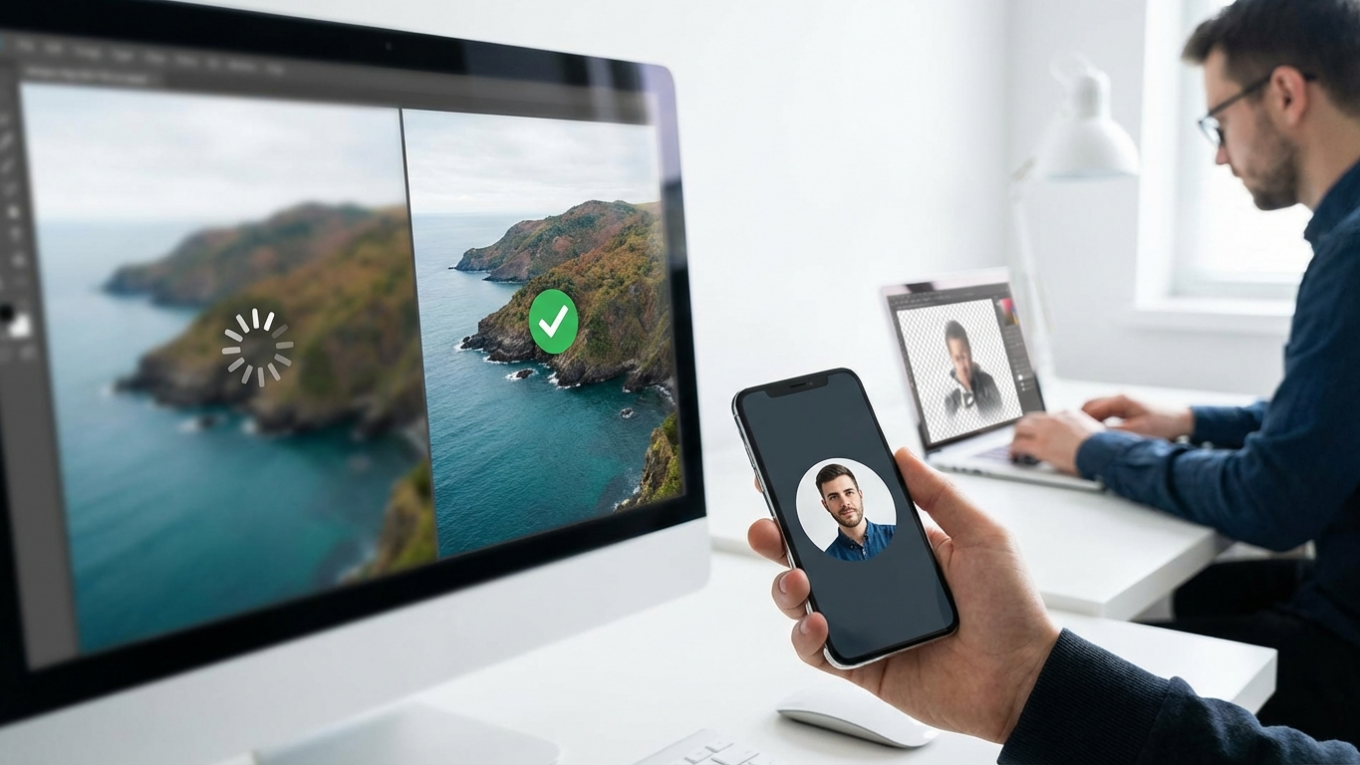
PNG
But what if you need a transparent background? That’s where PNG shines. Think logos, icons, or product photos where you’ve stripped out the background. It uses ‘lossless’ compression, so the quality is perfect, though the files are usually bigger than JPEGs. For instance, imagine you have a great product shot. You can use a free background remover to get a clean cutout, and then you’ll want to save that as a PNG to place it on any colored background on your site.
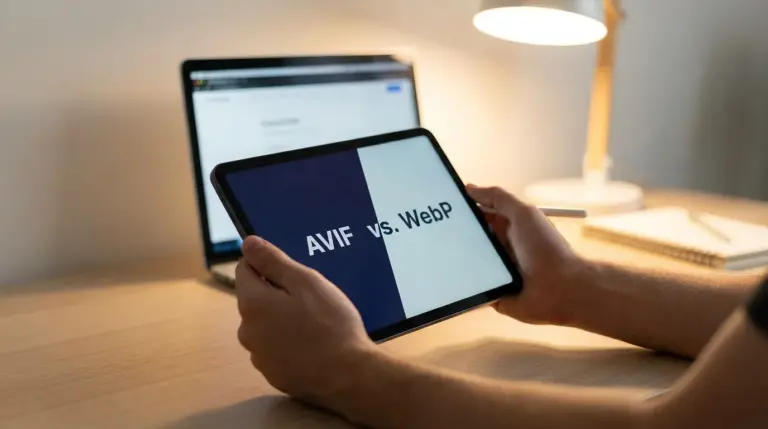
WebP and AVIF
Then you have the new kids on the block: WebP and AVIF. These formats were built for the web, offering even better compression than JPEG and PNG. Honestly, if you can use them, you should. WebP has great browser support now, while AVIF is catching up fast. It’s still a good idea to have a JPEG or PNG version as a backup, though, just for anyone on an ancient browser.

Compressing Images for Maximum Performance
Okay, now for the magic trick: compression. This is all about reducing the file size of an image. And you don’t need fancy software for it. An online image compressor can shrink your files in seconds, making them web-ready. Simple as that. There are two main types of compression.
Lossless compression reduces file size without any loss of quality, while lossy compression removes some data to achieve much smaller file sizes, with a minimal and often imperceptible drop in quality.
For most things on a website, a little bit of lossy compression is your best friend. It provides a massive reduction in file size with almost no visible change. Picture this: you can take a 2 MB photo and shrink it down to 200 KB—that’s a 90% reduction!—and it will still look perfectly sharp on the screen. This one step can be a total for your site’s speed.
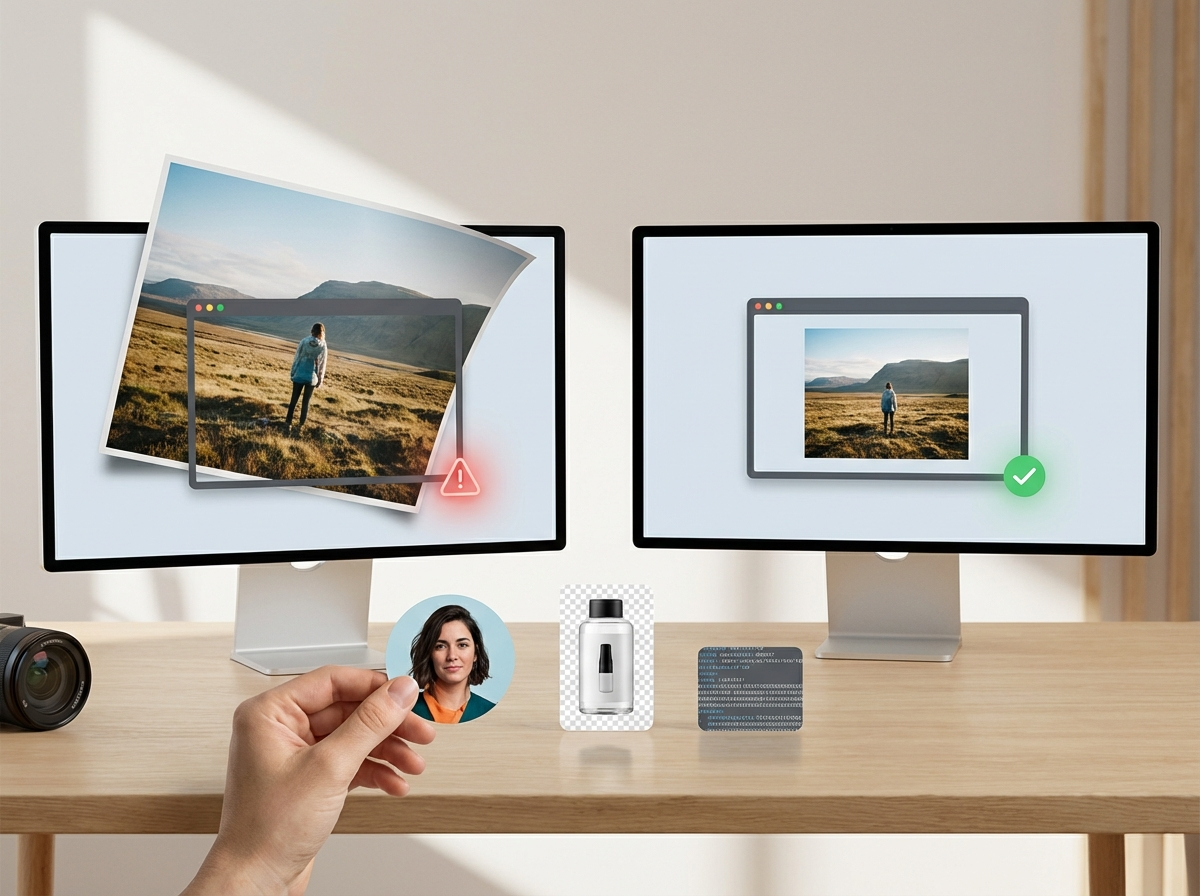
Resizing Images to the Correct Dimensions
Here’s a classic mistake I see all the time: uploading a massive photo straight from a camera. You might be putting a 5000-pixel wide image into a space that’s only 800 pixels wide. What happens then? The browser has to load the entire gigantic file and then shrink it to fit. It’s a total waste of bandwidth and a guaranteed way to slow things down.
So, before you even think about uploading, resize your images to the maximum dimensions they’ll be displayed at on your website. If your blog’s content area is 750 pixels wide, there’s zero reason to upload anything wider. For a big banner, you might need something like 1920 pixels. The key is to check what your website theme needs and resize accordingly. It’s a simple check that makes a big difference.
Optimizing File Names and Alt Text for SEO
But wait, there’s more. Good optimization isn’t just about speed; it’s also about helping search engines understand your content. Two super important elements here are the file name and the alt text.
A descriptive file name gives search engines context about the visual. Instead of uploading a photo with a generic name like IMG_7890.jpg, rename it to something that describes its content, like red-leather-armchair-living-room.jpg. Remember to use hyphens to separate words.
Alt text (alternative text) is an HTML attribute that describes an image. It shows up if the image fails to load and is also read aloud by screen readers for visually impaired users. On top of that, search engines use it to understand the image’s subject. Writing good alt text supports both accessibility and SEO. You can find a complete overview to writing alt text for better rankings.
Using Browser Caching and Lazy Loading
On top of optimizing the images themselves, you can get even more performance by telling browsers how to handle them. Two powerful tricks for this are browser caching and lazy loading.
Basically, browser caching tells a visitor’s browser to save your images on their computer after the first visit. When that person returns to your site, the visuals load instantly from their computer’s cache instead of being downloaded again. This dramatically speeds up load times for repeat visitors.
Lazy loading is a clever technique that puts off loading images that aren’t on the screen yet. In practice, this means images further down a page only load as the user scrolls toward them. This speeds up the initial page load time because the browser doesn’t have to download every single image at once. You can learn more about how to use lazy loading to make your website faster.
So, think of optimizing your images less as a one-time chore and more as a good habit. It pays off big time in site speed, happy visitors, and better search rankings. The next time you’re about to upload a photo, just take that extra minute: resize it, run it through a compression tool, and give it a smart file name. These small steps, done consistently, are what keep a website fast and effective.
FAQ
What is the best image size for a website?
There’s no single ‘best’ size because it all depends on where you’re using the image. For full-width hero images, aim for around 1920 pixels wide. For images inside your content, just match the width of your content area, which is typically between 600 and 900 pixels.
Does image optimization really help with SEO?
Absolutely. Page speed is a direct ranking factor for Google. On top of that, descriptive file names and alt text help search engines understand and index your images, which can drive a lot of traffic from image searches.
Should I use JPEG or PNG for my website photos?
Stick with JPEG for most photographs and complex images, as it gives you great compression. Go with PNG only when you absolutely need a transparent background for something like a logo or an icon, since the files tend to be larger.
How can I optimize images for free?
You can use free online tools for compression, resize with software already on your computer, and manually handle file names and alt text in your website’s dashboard. You really don’t need to pay for software to get great results.
Compress images without losing quality