Twitter Profile Picture: Size, Crop, and Best Practices 2026
Let’s get straight to it: for your Twitter profile picture, you’ll want a 400×400 pixel square. Keep the file size under 2 MB. While Twitter takes JPG, PNG, and GIF files, I’ve found that PNG is usually best for graphics. The tricky part? The platform automatically crops your square upload into a circle, which means your main subject has to be dead center.
Think about it: your Twitter avatar shows up everywhere—next to every tweet, reply, and like. A blurry or weirdly cropped photo can sink your credibility before anyone even reads your words. It’s a tiny visual, but it has a huge impact on how people see you or your business, influencing engagement more than you might realize.
Twitter Profile Picture Size and Technical Specs for 2026
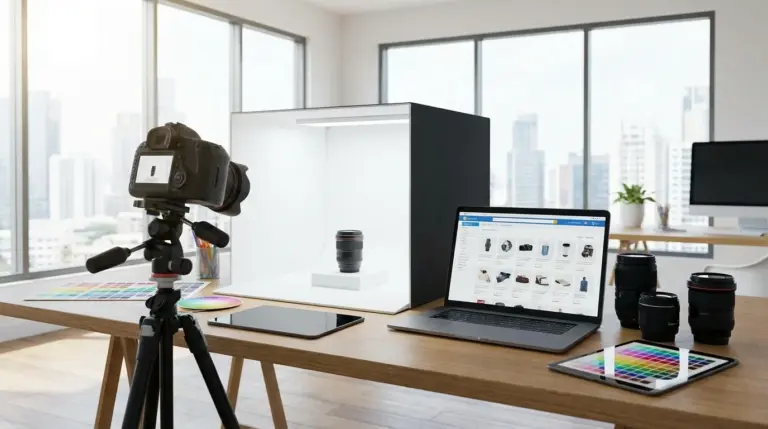
First things first, let’s nail the technical details. Getting these specs right is the foundation for a great avatar, ensuring your photo looks sharp on any device, from a huge monitor to a tiny phone screen.
- Recommended Dimensions: 400 x 400 pixels. While Twitter might accept smaller files, uploading anything less will cause the platform to stretch it, resulting in pixelation. It’s a mess. Your photo must have a 1:1 aspect ratio (a perfect square).
- Maximum File Size: 2 MB. Your file has to be under this limit to upload successfully. If your high-quality shot is too large, use an online image compressor to shrink its size without sacrificing clarity.
- Supported File Formats: JPG, PNG, and GIF. For most photographs, JPG offers a good balance of quality and file size. For logos or visuals with text and sharp lines, PNG is the superior choice because it preserves detail better. And even though you can upload a GIF, it won’t animate; only the first frame will be displayed.
Following these simple rules prevents the most common technical issues. Plus, for a complete overview of visuals on the platform, you can check out a detailed guide to X (Twitter) image sizes for 2026.
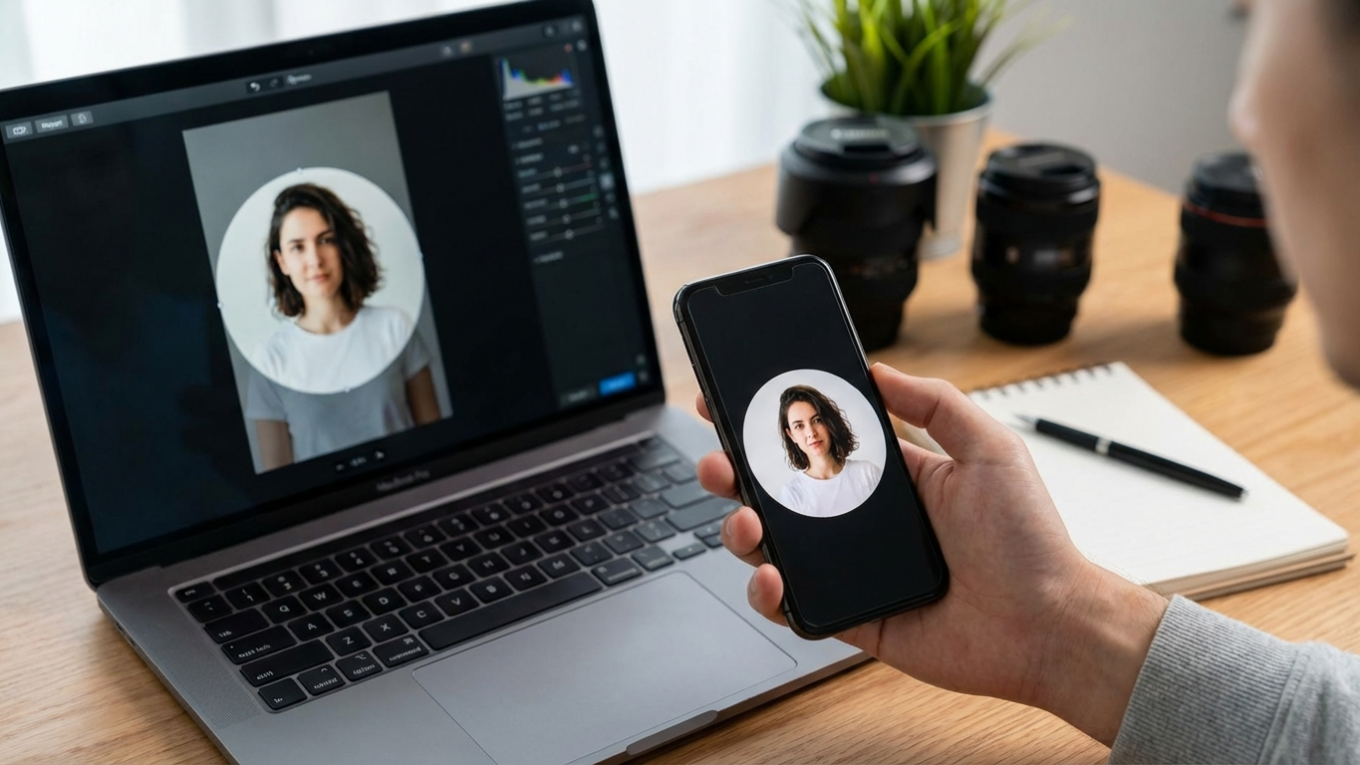
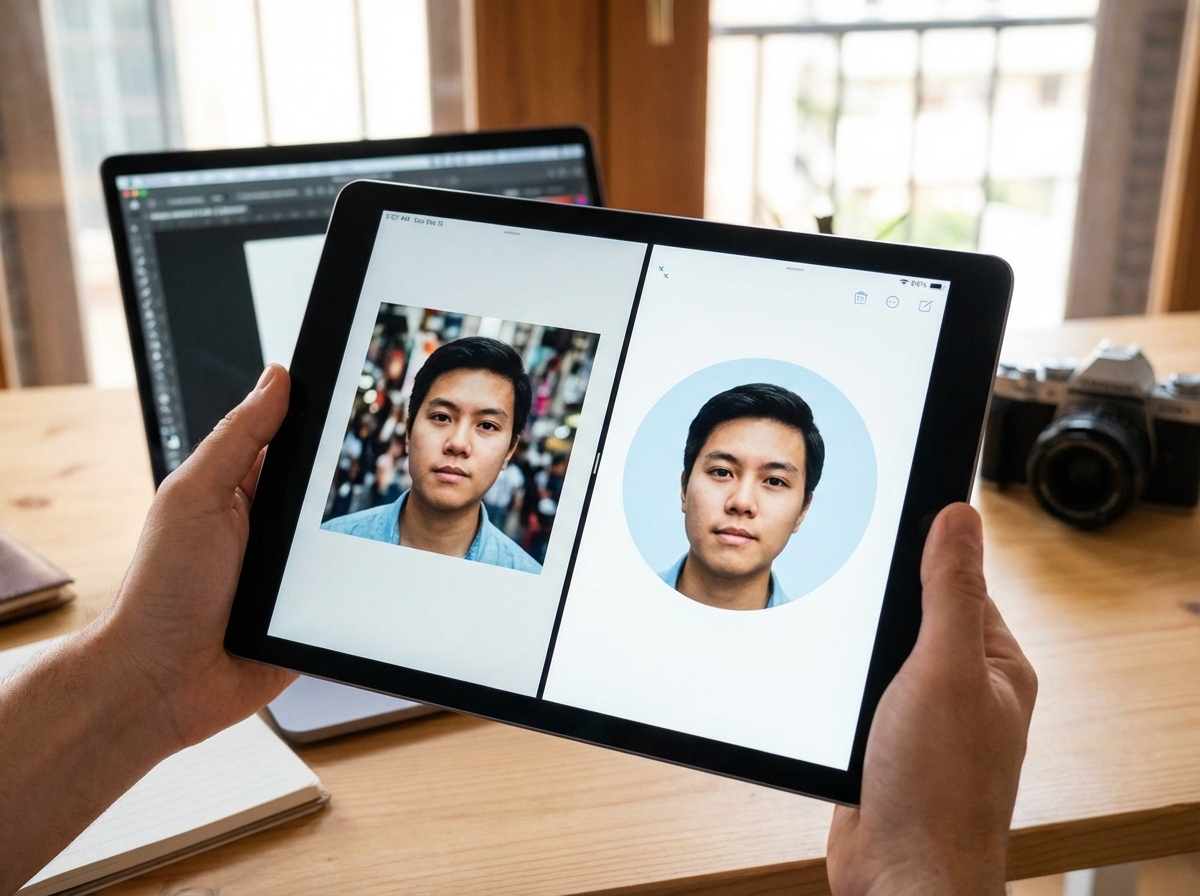
Mastering the Circular Crop
Here’s something a lot of people forget: Twitter displays all profile pictures as circles, even though you upload a square. That’s a huge deal. This circular mask will chop off anything in the corners of your original photo. Because of this, your main subject has to be right in the middle. No exceptions.
Imagine a product logo where the company name is written along the bottom edge of the square. Once on Twitter, that name would likely be completely hidden. Ouch. The same applies to headshots; if your face is too close to an edge, part of your head could be awkwardly sliced off. To avoid this, always leave a generous amount of empty space, or “padding,” around the central focus of your visual.
My advice? Before you upload your picture to Twitter, guarantee a perfect result by using a free circle crop tool. This resource lets you see exactly how the circular frame will be applied and adjust the positioning and zoom until your subject is perfectly centered.
Design Best Practices for a Standout Avatar
Okay, specs are handled. Now, let’s talk design. This is what determines whether you blend in or stand out. A little strategy here can seriously boost your online presence.
Use High-Resolution, Well-Lit Images
Your profile picture must be sharp and clear. Simple as that. Start with the highest quality source photo you have. A grainy or low-resolution shot suggests a lack of professionalism. Good lighting is just as vital. Natural light from a window is often best for headshots, as it creates soft, flattering tones, while harsh overhead lighting can create unflattering shadows. Your photo also needs good contrast to be visible against both Twitter’s light and dark modes.
Choose a Simple, Clean Background
A busy background competes with your main subject for attention. In the tiny space of a profile picture, especially when viewed in the feed (at about 48×48 pixels), a complex background just becomes visual noise. A solid color background that contrasts with your subject is an excellent choice. For instance, if you’re wearing a dark shirt, a light background will make you pop. You can easily get this look with a free background remover to isolate your headshot and place it on a clean, branded color.
Frame Your Shot for Impact
For personal brands, I find a headshot or a head-and-shoulders shot works best. Your face should fill about 60% of the frame—close enough to be recognizable but not so close that it feels claustrophobic. Making eye contact with the camera helps build a connection with the viewer, while a genuine smile makes you appear more approachable. These small details encourage people to engage with your content. Makes sense, right?
Personal Brand vs. Business Account Strategies
Your strategy really depends on one thing: are you representing a person or a company? Each needs a different visual game plan.
For a personal brand (consultants, creators, experts), your face is your logo. Using a clear, professional headshot is non-negotiable. People connect with people, after all, and showing your face builds trust and recognition. It’s also a great idea to use the same headshot across all professional platforms, like LinkedIn and your personal website, to create a consistent brand identity.
For a business account, the company logo is almost always the way to go. It reinforces brand recognition with every tweet and interaction. Ensure your logo is designed to work well in a circular format. A square or round logo is ideal. Still, if your logo is wide and rectangular, you might need to create a stacked version or use a simplified brand icon that fits neatly inside the circle.

Common Profile Picture Mistakes to Avoid
We’ve all seen them. Simple, avoidable errors that just tank a profile picture’s effectiveness. Let’s make sure you steer clear of these.
- Forgetting the Safe Zone: Placing text or key parts of a logo too close to the edge is a frequent error. When the circular crop is applied, these elements get lost. Always keep your main subject in the central 80% of the image.
- Using a Photo from Miles Away: A picture of you standing on a mountaintop might be a great photo, but it makes a terrible profile picture. At small sizes, you will be completely unrecognizable. Your face or logo needs to be the clear hero of the shot.
- Changing It Too Often: While it’s good to keep your photo current, changing it every month just confuses your followers and weakens brand recognition. Pick a great photo and stick with it for at least a year, unless your appearance changes drastically.
- Having Bad Contrast: A visual with low contrast can blend into the Twitter interface. For example, a light gray logo on a white background will be hard to see in light mode. Test your shot in both light and dark modes before finalizing it.
How to Change Your Twitter Profile Picture
Updating your avatar is a straightforward process on both desktop and mobile devices. Here is a quick guide for each platform.
On Desktop
Log into your Twitter (X) account on a web browser. Click on your profile icon in the left-hand menu, then click the “Edit profile” button on your profile page. This will open an editing window. Click on your current profile picture (a camera icon will appear) and select “Upload photo.” Choose the 400×400 pixel file from your computer. Use the provided tool to position it within the circular preview, then click “Apply” and “Save.”
On Mobile (iOS and Android)
Open the Twitter app and tap your profile icon in the top-left corner. From the menu, tap “Profile.” Next, tap the “Edit profile” button. Tap your current profile picture to open the options to take a photo or choose one from your library. After selecting your file, use pinch-and-zoom gestures to position it correctly within the circular frame. Once you are satisfied, tap “Done” or “Apply,” and then tap “Save” to finalize the change.
So, your Twitter profile picture is a small but mighty piece of your digital identity. It’s not just decoration; it’s a strategic tool for building recognition and trust. Why not take a moment right now to look at your current avatar? A quick five-minute update—resizing to 400×400 pixels, checking that circular crop, or even just cleaning up the background—can make a huge difference in how your audience sees you.
FAQ
What’s the best format for my Twitter profile pic?
PNG is usually best for logos or graphics because it keeps details sharp. For photos of people, though, JPG is a great choice that balances quality with file size.
Can I use a GIF for my Twitter avatar?
Nope, Twitter doesn’t support animated GIFs for profile pictures. If you upload one, it will just show the first frame as a static image.
How often should I change my profile picture?
Honestly, not very often. For brand consistency, you should only update it if your appearance changes a lot or if your company rebrands. Otherwise, keeping the same photo helps your followers spot you instantly.
Why does my profile picture look so blurry?
The most common culprit is uploading a photo that’s smaller than the recommended 400×400 pixels. When Twitter has to stretch a small image to fit, it gets pixelated and loses quality. Always start with a larger file.
Crop images into a circle for free