What Is the GS1 Product Image Standard? A Guide for Brands
The GS1 Product Image Specification Standard sets a universal playbook for creating, naming, and storing high-quality digital product photos. It’s all about ensuring consistency across retail platforms by using the Global Trade Item Number (GTIN) for identification. Adopting this standard helps brands create a single master visual that can be adapted for any use, anywhere.
Have you ever spent weeks perfecting your product photography, only to have a major online retailer reject your images? Then another partner asks for a completely different set of angles and file names. It’s a frustrating cycle of reshooting and re-editing that costs time and money, and frankly, it creates a messy brand presence online.
What Is the GS1 Product Image Specification Standard?
So, what is this standard? Think of it as a set of guidelines that defines how product photos should be captured, edited, and stored for commercial use. It’s basically a universal language for product imagery. The whole point is to help you create a single, high-resolution master file for each product. From this one file, you can then generate any other version needed for different websites or marketing materials without losing an ounce of quality.
At its core, the standard links each visual directly to a product’s unique Global Trade Item Number (GTIN). This is the same number you see in a product’s barcode. By embedding the GTIN into a structured file name, the system makes sure the right photo is always tied to the right product, which eliminates some very costly mix-ups. The guidelines cover everything from camera settings and lighting to background color and file naming. Simple, but powerful.
Key Technical Rules for Your Product Photography
To comply with GS1 standards, your photography process needs to be precise and controlled. These technical tips ensure you capture a high-quality source photo that is sharp, color-accurate, and free of distortion. Following these rules from the start saves a ton of time in post-production.
- Camera and Lens: For the best results, use a DSLR camera with a full-frame sensor. I’d suggest avoiding smartphone cameras or basic point-and-shoots, as they often lack the manual controls you’ll need. Plus, your lens choice matters; select one that doesn’t cause wide-angle distortion, which can make products look warped.
- Framing and Focus: The product should take up about 80% of the camera’s sensor frame. You’ll want to adjust your lens aperture to get a large depth of field, ensuring the entire item from front to back is in sharp focus.
- Lighting and Color: Your lighting should be uniform and diffused to prevent harsh shadows or blown-out highlights. It’s also critical to use a controlled white balance to prevent any color casts, making sure the product’s color is represented accurately.
- Product Preparation: Before you even start shooting, make sure all temporary, batch-specific info is removed from the packaging. This includes details like expiration dates or promotional stickers. While you can digitally remove these later, it’s much easier to handle them beforehand if possible.

Editing and Preparing Images for GS1 Compliance
Now for the editing, which is where your raw photos are refined to meet the strict GS1 presentation criteria. The goal is a clean, professional visual that isolates the product and presents it clearly. These steps are non-negotiable for creating compliant primary product shots.
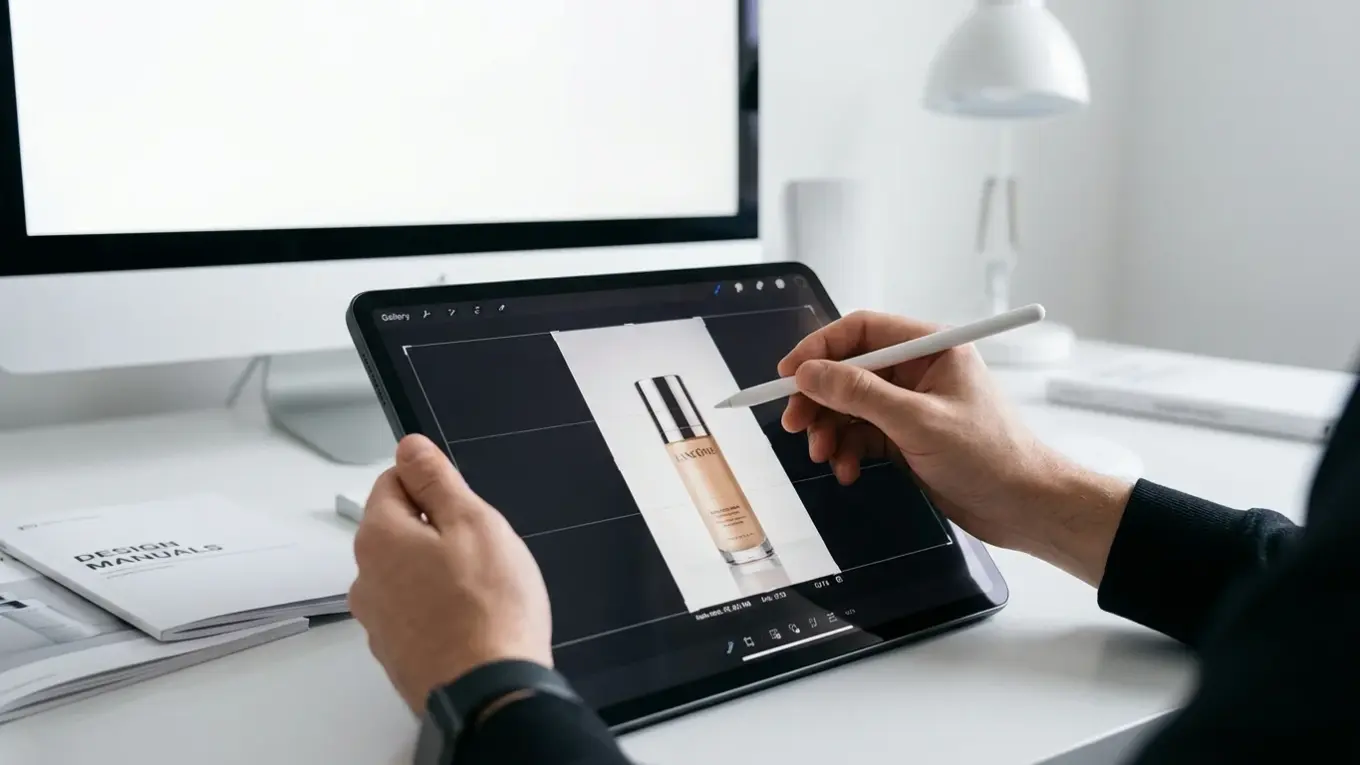
First, your image background must be either pure white (RGB 255, 255, 255) or fully transparent. A pure white background ensures consistency across different e-commerce sites. To get this done, you often need to remove the original background from the photo. A free tool like RoundCut’s background remover can be a lifesaver here, letting you quickly isolate the product and place it on a compliant background without wrestling with complex software.
Then there are clipping paths. A clipping path is a vector outline drawn around the product that allows it to be perfectly cut out from its background. While it’s optional for files already saved with a transparent background (like a PNG), GS1 recommends including one anyway. Why? Because it gives downstream users more flexibility. For instance, imagine a marketing team needs to place your product on a colored flyer; that clipping path makes it a two-click job. Your retouching should be , especially when removing imperfections. For a deeper dive into professional techniques, you can explore guides on how to retouch product photos.
Finally, center the product so it covers about 95% of the final image s. Make sure there are no watermarks, signatures, or extra guides left on the file. The visual should be saved without any color profiles or compression artifacts.
Main GS1 Image Types
The GS1 standard defines several image types, but let’s be honest, you’ll probably only use two for e-commerce. These categories differentiate between a straightforward product shot and one that provides a bit more context.
- Product Image (Single GTIN): This is the most common and essential visual. It features a single item, identified by its GTIN, on a white or transparent background. No other objects, props, or text are in the frame. It’s just a clean, clear representation of what the customer is buying.
- Product Image with Supporting Elements: This image type still features the main product but includes additional elements to enhance its appeal or show it in context. For example, a bottle of pasta sauce (the GTIN item) might be shown with fresh tomatoes and basil. These aren’t full-blown “beauty shots” but rather subtly styled photos that still focus on the core product.
The standard also distinguishes between photographic images (from a camera) and rendered images (from computer software). Since the line between them can blur after digital editing, GS1 leaves the final classification to the brand owner. The key is simply to be consistent in your own system.

The GS1 File Naming Convention
This might seem a bit technical, but the GS1 file naming convention is actually a brilliant system. It turns a simple filename into a rich source of data about the image. Instead of a generic name like `blue_shirt.tif`, a GS1-compliant filename is a code that describes exactly what the image contains, with each part of the name separated by an underscore.
The mandatory components of the filename are:
- GTIN (Positions 1-14): The 14-digit Global Trade Item Number of the product.
- Image Type (Position 16): A code for the image category. For example, `A` represents a Primary Image for web use.
- Facing (Position 17): A number indicating the product view. `1` is for the front, `7` for the back, `3` for the top, and so on.
- Orientation (Position 18): A letter that describes the angle. `C` is for a centered, straight-on shot.
- State (Position 19): A code for how the product is presented. For instance, `1` means the product is shown inside its packaging, while `0` means it’s out of the package.
Putting it all together, a filename like `01234567890123_A1C1.tif` tells you this is a primary web image (`A`) of the front view (`1`), shot straight-on (`C`), with the product in its packaging (`1`). Trust me, this systematic approach is way more efficient than trying to decide if you should use the same SEO name for all product photos. Optional components can also be added to specify things like language or an expiration date.
Benefits of Adopting GS1 Standards
I get it, adopting the GS1 Product Image Specification Standard might seem like extra work at first. But the long-term benefits are huge for any brand selling products online. The primary advantage is consistency. When your visuals follow a single global standard, your products look uniform and professional on every platform, from your own website to major marketplaces like Amazon or Walmart.
Images are only one part of what is needed. Data, both meta and associated, are essential for the timely and accurate usage of the assets. — GS1 Trade Item Implementation Guideline
This consistency builds brand trust and improves the customer experience. On top of that, you gain a ton of efficiency. By creating one high-quality, compliant master photo, you eliminate the need for costly and time-consuming reshoots every time a new retail partner has different requirements. This approach future-proofs your digital assets. For example, having a standardized set of visuals makes it much easier to meet specific vendor rules, such as the Walmart product image requirements. The structured file naming system also simplifies your digital asset management, making it easy to search, sort, and distribute thousands of photos without errors. It just works.
So, what’s the takeaway? Integrating the GS1 standard into your workflow simplifies your relationship with retail partners and seriously strengthens your brand’s digital presence. My advice? Start small. Apply the core principles—a pure white background, consistent lighting, and the front-facing angle—to your next batch of product photos. Then, begin implementing the GTIN-based file naming convention to build an organized, future-ready asset library.
FAQ
What’s a GTIN, and why does it have to be in the filename?
Think of a GTIN (Global Trade Item Number) as your product’s unique, 14-digit fingerprint, often found in its barcode. Putting it in the filename permanently links the photo to the right product, so there are no costly mix-ups in databases or retail systems.
JPEG or TIFF? Which is better for GS1?
The standard recommends using a lossless LZW-compressed TIFF for your master file to preserve maximum quality. JPEGs are great for the web because they’re smaller, but you should always create them from that master TIFF. After exporting a JPEG, you can use an online <a href=”https://roundcut.com.br/compressor-de-imagem”>image compressor</a> to further optimize it for fast loading times.
Do I really need a pro photographer for this?
Not necessarily. While pro gear is nice, you can achieve compliant results with a well-planned setup, including controlled lighting, a stable tripod, and a solid background. Understanding the principles of consistency and clear focus is more important than the camera itself.
What’s the deal with rendered vs. photographic images?
Simple. A photographic image comes from a camera snapping a picture of a real object. A rendered image is built from scratch on a computer. Since photo editing can blur that line, GS1 basically says the brand owner gets to make the final call.
Remove image backgrounds for free